
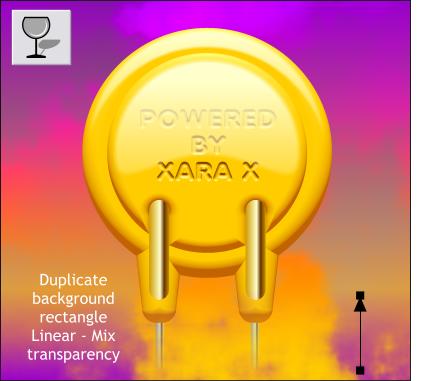
Clone the clouds background image. Change the Transparency Type to Mix and reposition the fill path as shown so that the bottom of the image is not transparent and the top portion is 100% transparent. This creates the appearance of the metal pins disappearing into the orange cloud.
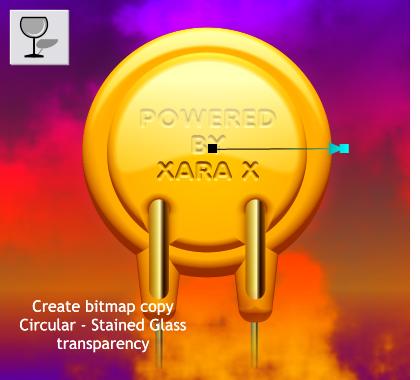
Finally, to add some depth to the image, marquee select the entire image and from the Arrange menu select Create Bitmap Copy. Select True Color (24-bit). Hold down the Shift key when you press Create to place the bitmap copy directly on top of the original.
Select the bitmap with the Transparency Tool and apply a Circular, Stained Glass Transparency. Click the center control point and change the transparency slider to 100% (fully transparent). Select the outside control point and change the slider setting to 0% (no transparency). This adds depth and richness to the color as well as a degree of drama.
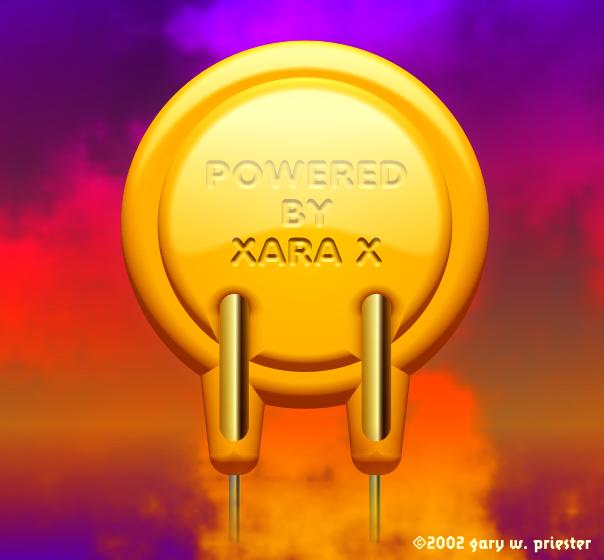
And here is the final image. Whatever it is, I think it looks either very Retro or very futuristic. Or perhaps somewhere in between.
Comments? Questions? Compliments? Criticisms? Please take a moment and send me your comments using the form on the next page. I promise I will not reveal your e-mail address to anyone and will not share your comments with anyone with the possible exception of my sponsors at Xara Ltd. who make these tutorials possible though their excellent product and generosity. Your kind comments are my best compensation for the considerable time and effort that goes into creating these tutorials.
Gary W. Priester
Host
|
|
|
|
|
|
|
|
|
|
|
|