 |
 |
|||||||
| 0 1 2 3 4 5 6 7 8 9 10 11 Download Zipped Tutorial | ||||||||
|
In this tutorial, we'll create a button back bar with 4 linked buttons. Each button will have four distinct states and will link to a separate HTML page. Xara will create the HTML code. All we have to worry about it the design. Let's get started.
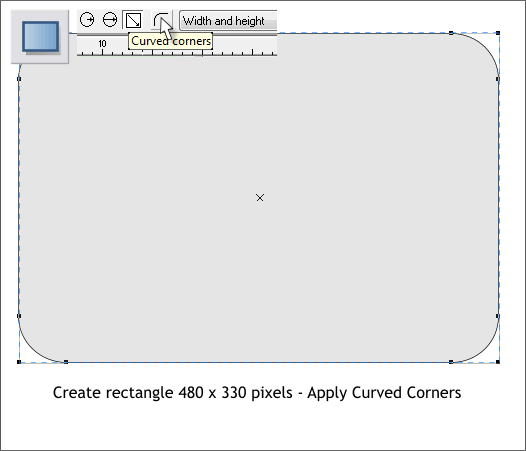
Select the Rectangle Tool (Shift F3), click on the screen and drag a rectangle 480 x 330 pixels. The size shows in the Infobar at the top of the screen as you drag. TIP: Drag your rectangle to any size. Then enter the correct numbers in the Width and Height text entry boxes on the Infobar. Press Enter to apply the changes. With the Rectangle Tool still selected, click the Curved Corners icon on the Infobar as shown above.
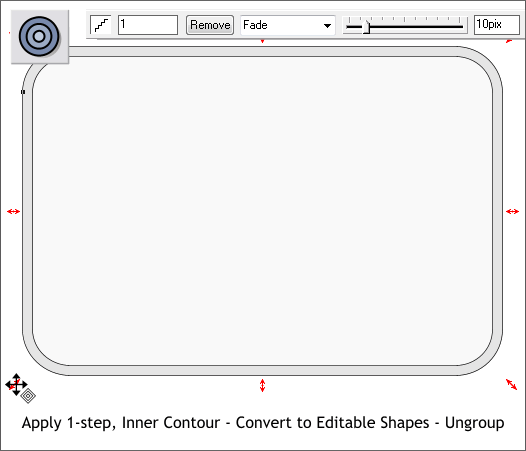
Select the Contour Tool (Ctrl F7). Click the rectangle to select it. Drag any of the red arrow control handles a short distance towards the center to apply an Inner Contour. Change the number of Contour Steps on the Infobar to 1 and press Enter to apply the change. Move the Contour Width slider to 10pix or key in 10pix and press Enter. Switch to the Selector Tool (F2 the arrow pointer). From the Arrange menu, select Convert to Editable Shapes and then Arrange > Ungroup.
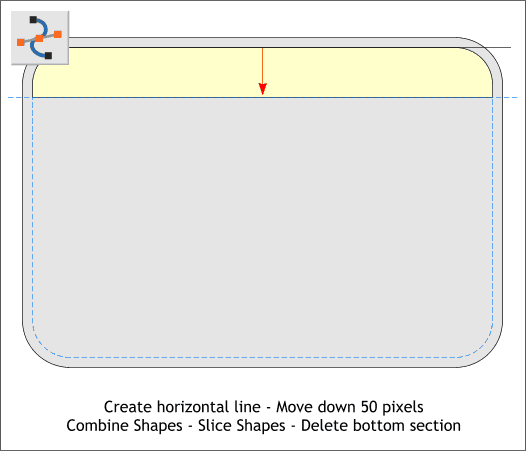
Select the Shape Editor Tool (F4). Click on the page, hold down the Ctrl key, click and drag to the right to create a horizontal line. Position the line about 50 pixels down from the top of the smaller rounded rectangle. TIP: Create a rectangle that is 50 pixels tall and use the rectangle as a measurement guide. Make sure the line extends beyond the left and right side of the inside rounded rectangle. Hold down the Shift key (to multiple select), and click the line and the inside rectangle. From the Arrange menu, select Combine Shapes > Slice Shapes (or use the keyboard shortcut Ctrl 4). This cuts the inside rectangle into two parts. Select and delete the bottom portion. I have colored the remaining top section pale yellow and indicated the deleted section in blue dashed outline.
|
||||||||
|
|
||||||||


