 |
 |
|||||||
| 0 1 2 3 4 5 6 7 8 9 10 11 Download Zipped Tutorial | ||||||||
|
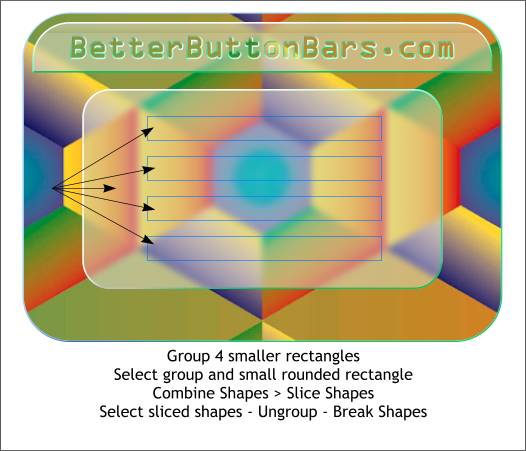
Ungroup the three parts of the back bar. Select the four smaller rectangles and group them (Ctrl g). Select the group and the smaller rounded rectangle behind them. From the Arrange menu select Combine Shapes > Slice Shapes (or Ctrl 4 ). Select the sliced rectangles and Arrange > Ungroup then Arrange > Break Shapes. You should now be able to select each individually. I have added a blue outline above so you can see the sliced rectangles.
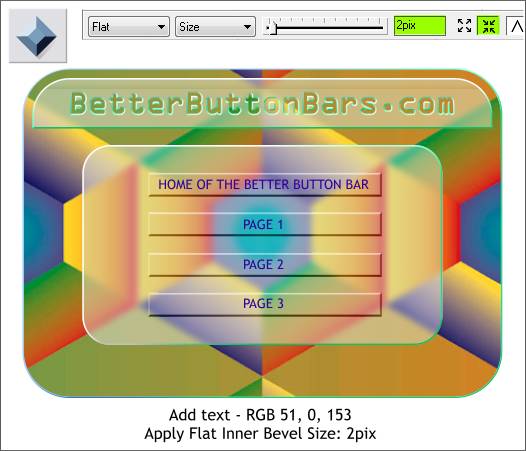
Select the four sliced shapes then select the Bevel Tool (Ctrl F3). Apply a Flat, Inner Bevel. From the Slider Type drop down list select Size. Change the Bevel Size to 2pix. Using the Text Tool (F8) add text to the buttons. Change the fill color for the text to RGB 51, 0, 153. NOTE: The buttons currently link to four pages created by Xara. If you know how to program in HTML, you can edit the links in Word Pad. So for example the buttons can link to images or other URLs.
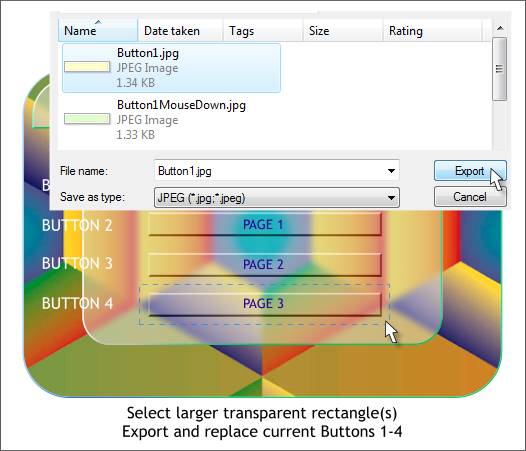
Select the large transparent rectangle for the first button. From the File menu, select Export. Browse to the folder you created for the files. Select Button1.jpg and press Export . Windows will ask if you want to replace the current image. Say yes please. (Don't forget the please). Repeat this and replace the other 3 buttons (Button2, Button3, Button4). Can you see where we are going with this?
|
||||||||
|
|
||||||||


