 |
 |
|||||||
| 0 1 2 3 4 5 6 7 8 9 10 11 Download Zipped Tutorial | ||||||||
|
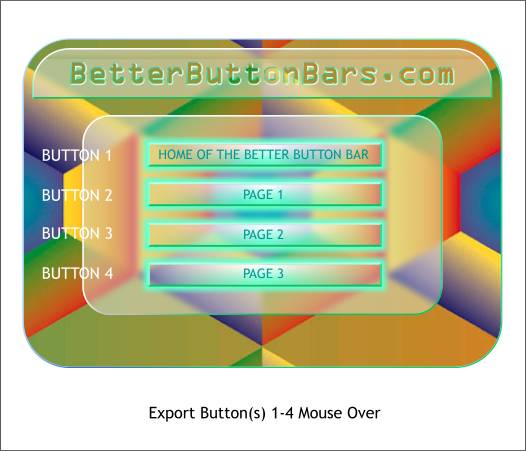
Export these buttons to replace the Mouse Over buttons.
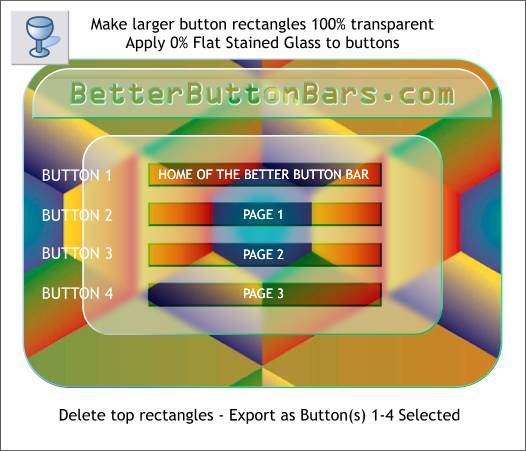
Select the four larger button rectangles and set the transparency back to 100%. Select the 4 beveled button rectangles and apply a Flat, 0% Stained Glass transparency using the Transparency Tool (F6). Export these buttons to replace the Selected state buttons. The selected state button appears to designate the current selected page. Click here to see the final result. The last button is linked to return to this page. To preview your button bar, open the folder with your files and double click on any of the HTML files. TIP: You may notice my page background is black. If you change the page background color (hold down the Ctrl key and drag a color onto the page, Xara uses this color for the page background color. Dreamweaver and FrontPage Users: The next question is OK, now that I have created this nifty back bar and buttons, how do I get all this into my web page creation application? Fair question and one for which Xara has the simple answer. Click here for the info. The instructions are written for Webstyle but work for Xara as well. A final word. You can have as many buttons as you want and you can let Xara create the states if you don't feel creative. But the basic steps are the same and you can make your bar any size and shape you want. This tutorial is kind of like a serving suggestion only. Your Feedback Please: So? Was this tutorial useful? Did I leave anything out? (I always do). I would love to hear your comments, take your questions, or ponder your suggestions. Click here to send me an e-mail with your comments. Please put Xara Xtreme Tutorial April 2007 in your subject line. Gary W. Priester
|
||||||||
|
|
||||||||

