 |
 |
||||||||
| 0 1 2 3 4 5 6 7 8 9 10 11 Download Zipped Tutorial | |||||||||
|
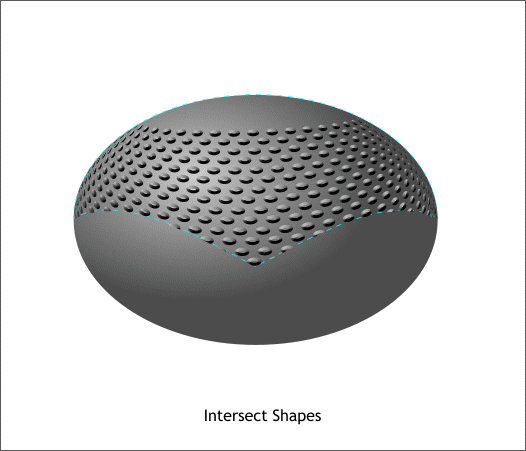
Select the top shape and bring it to the front (Ctrl f). Select the top shape and the beveled dots and Arrange > Combine Shapes > Intersect Shapes (Ctrl 3).
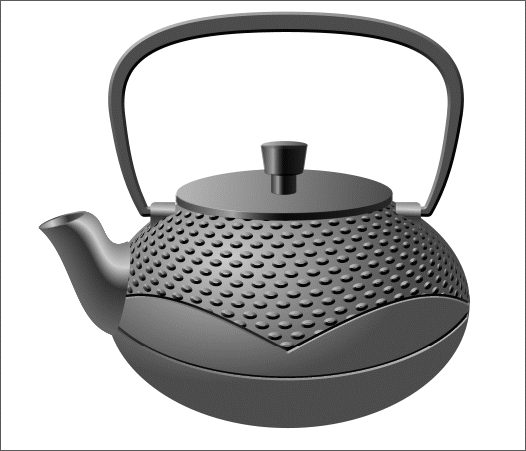
So here's how your teapot drawing should look. The shape and the shading are all there but what is missing is the cast iron texture. We'll add this effect next.
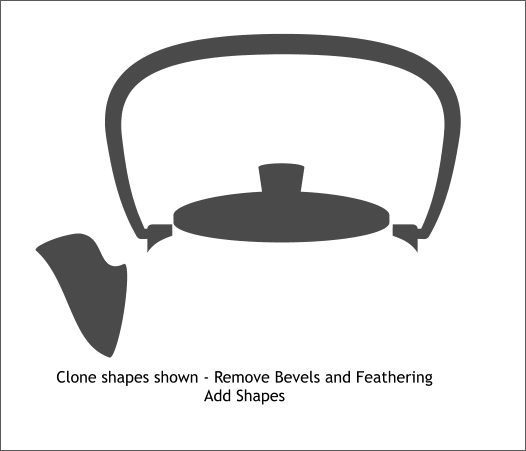
Clone (Ctrl k) the spout, lid, knob, handle and handle holders as shown above. Select the Bevel Tool (Ctrl F3). The Bevel Type text entry box on the Infobar should read Many. Select None from the Bevel Type drop down list. Arrange > Combine Shapes > Add Shapes (Ctrl 1). The result of this operation should look like the example above. The blended spout will not be a single outline.
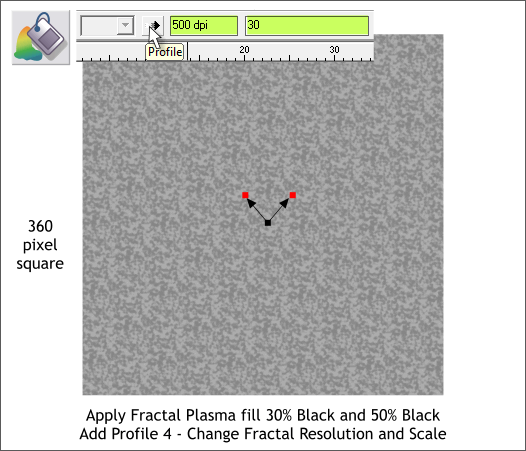
Draw a 360 pixel square. Switch to the Fill Tool (F5). From the very bottom of the Fill Type drop down list on the Infobar, select Fractal Plasma. Use 30% Black and 50% Black for the inside and outside colors. Click again on the fill with the Fill Tool and the Fractal Resolution and Fractal Size text entry boxes will appear on the Infobar. Change the Fractal Resolution to 500 dpi and press Enter . Change the Fractal Size to 30 and press Enter. Drag either of the outside control handle squares and rotate the fill as shown. Save your drawing and take a short break.
|
|||||||||
|
|
|||||||||


