 |
 |
||||||||
| 0 1 2 3 4 5 6 7 8 9 10 11 Download Zipped Tutorial | |||||||||
|
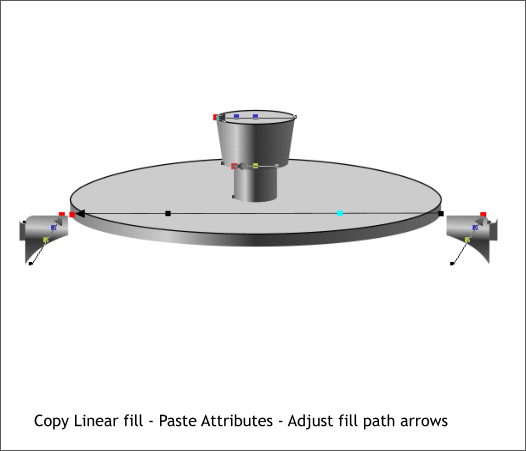
The fill should still be in the Clipboard. Select the side of the lid knob and Edit > Paste Attributes. You may need to reverse the fill path arrow so the highlight is on the left side of the knob. If you do have to reverse the fill path arrow, then copy the new fill to the clipboard. One by one, Paste Attributes to the other objects as shown.
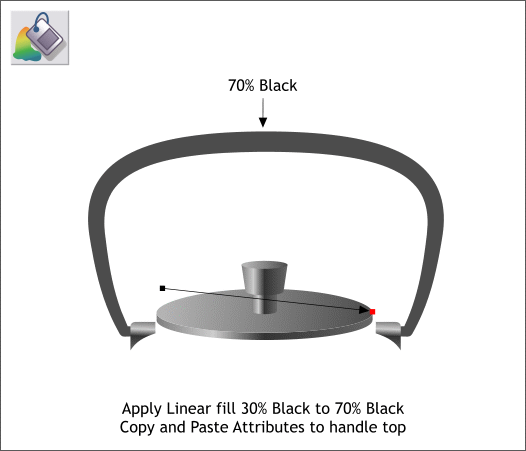
Select the handle and change the fill color to 70% Black. Apply a new Linear fill to the top of the lid. Copy the new fill to the clipboard and Paste Attributes to the top of the knob.
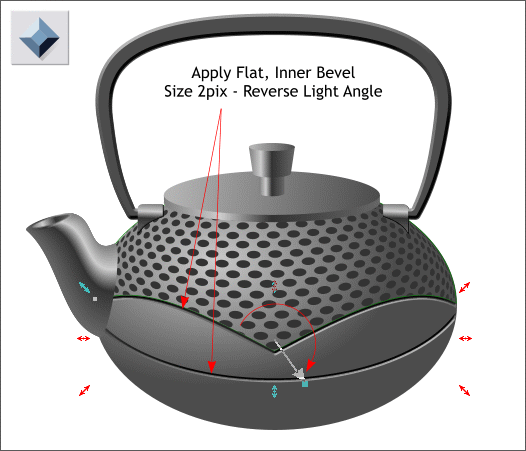
Select the double arc line shape and the curved line shape with the Bevel Tool (Ctrl F3). Drag any of the red arrow control handles towards the center of the lines. Drag and rotate the Light Angle arrow in the center around to the 5 o'clock position. From the drop down list of Slider Type options, select Size. Change the setting to 2pix and press Enter to apply the change. This creates the appearance of the two line shapes being indented.
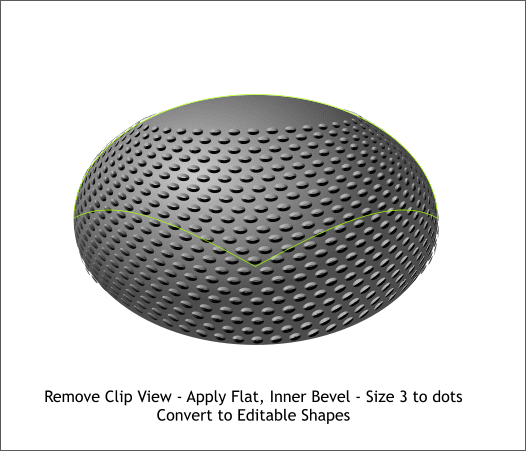
Select the dots which were masked inside the top shape (shown in green outline). Arrange > Remove Clip View. Select just the dots. Change the fill color to 70% Black. Apply a Flat, Inner Bevel. From the drop down list, select Size and change the Size to 3pix and press Enter to apply the change. Convert to Editable Shapes (Shift Ctrl s).
|
|||||||||
|
|
|||||||||


