 |
 |
||||||||
| 0 1 2 3 4 5 6 7 8 9 10 11 Download Zipped Tutorial | |||||||||
|
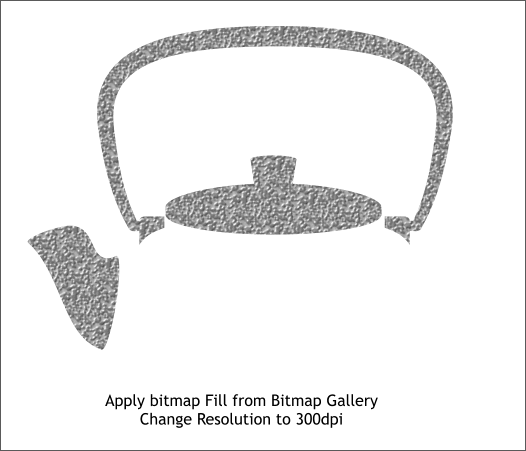
Select the combined shape. Open the Bitmap Gallery (F11). Select the texture and press Fill to apply the textured fill to the combined shape. Switch to the Fill Tool. If necessary click again on the shape to enable the Resolution text entry box on the Infobar. Change the resolution to 300dpi and press Enter.
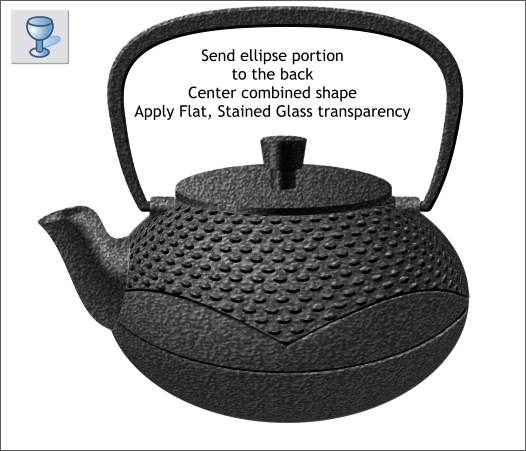
Send the bowl objects of the teapot to the back (Ctrl b or Arrange > Put to Back). Apply a Flat, Stained Glass transparency to the combined shape. The knob and the side of the lid are not very well defined. We'll fix that next and we'll be be ready to put on the kettle.
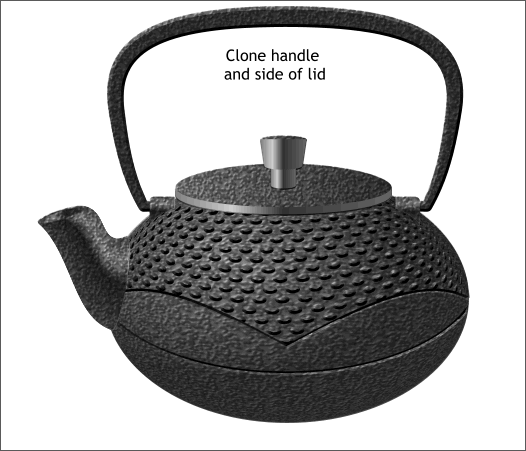
Hold down the Alt key and click on the side of the knob a few times until the bounding box is the same size as the side of the knob. Clone the shape (Ctrl k ). Do the same for the stem of the knob and the side of the lid.
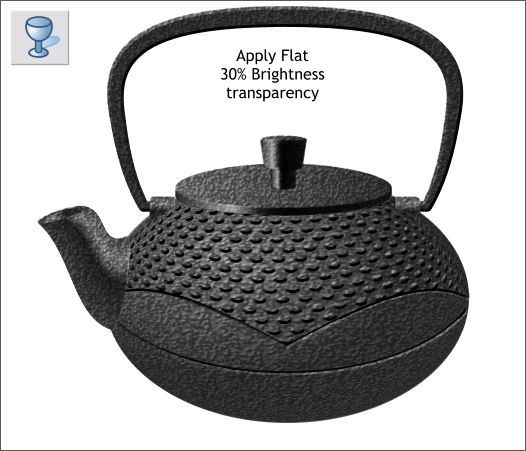
Select these cloned shapes then select the Transparency Tool (F6). From the drop down list of Transparency Types, select Brightness. Change the slider setting to 30% and press Enter . (If you use the slider to change the number you do not have to press Enter). And that's it. You put the kettle on, and I'll be mother. Or is it Mama-San?
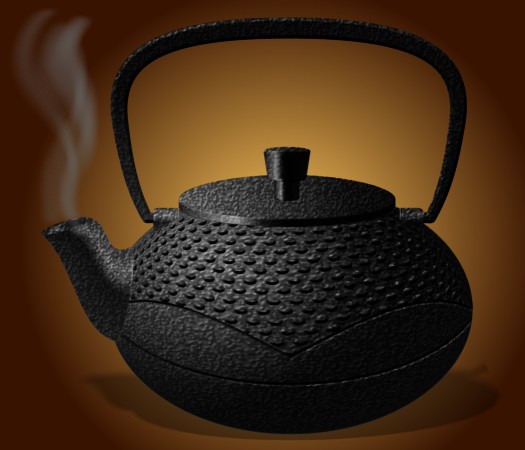
Here is the final serving suggestion. I added a Circular fill to the background. I created a Bitmap Copy of the pot, True Color + Alpha (for a transparent background), and with a Resolution of 300dpi. I added a Floor Shadow to the bitmap copy, Converted to Editable Shapes and selected just the floor shadow and repositioned it. I applied a Circular, Stained Glass transparency to the bitmap copy of the teapot and placed the center of the transparency over the left side of the pot . I reversed the inside and outside slider settings to make the center lighter and the outsides darker. This adds a bit of inscrutable mystery as well as more subtlety to the pot. And finally, I imported Steve Newport's most excellent (and free) Smoke Brush from the Xara Xone Fills and Brushes page to add a bit of steam. The Smoke Brush is almost at the bottom of the page. Open the Smoke Brush .XAR file in Xtreme. A copy of the Smoke Brush is placed in the Line Gallery > New Brush Strokes folder. Draw a single wavy line with the Freehand and Brush Tool. Select the line then the Smoke Brush in the New Brush Strokes folder and press Apply. Increase or decrease the outline Width to make the steam wider or thinner.. In retrospect, the hobnail texture dots might have been smaller. And the perspective on the knob and lid are a bit off. The ellipses should probably be not so tall. But all and all I think it is pretty convincing. What do you think? Your feedback is always appreciated. Please use the Send e-mail link below to send me your comments, questions, suggestions, and if you must, you complaints (believe it or not I do get a few complaints and grumblings from time to time—it keeps me honest!). I guess the only question remaining is Milk or Sugar? Gary W. Priester
|
|||||||||
|
|
|||||||||
