 |
 |
||||||||
| 0 1 2 3 4 5 6 7 8 9 10 11 Download Zipped Tutorial | |||||||||
|
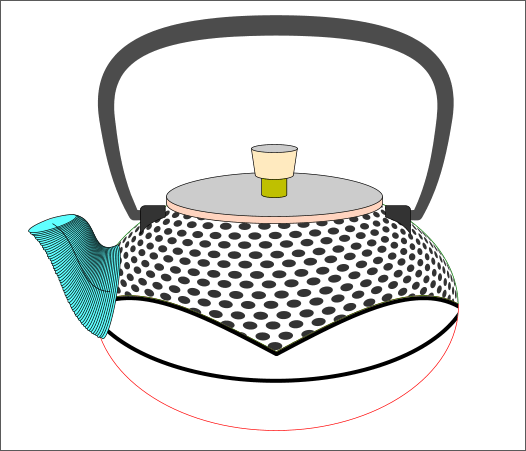
Place the all the objects together as shown. Clone the handle holder and move it to the other side of the lid. This is a good time to try out the tip from the last page. We now have all the objects for the teapot.
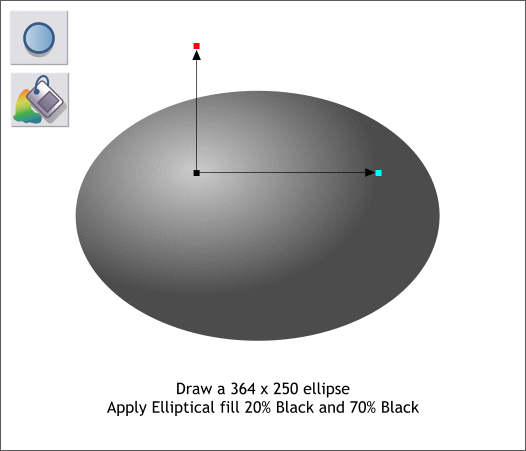
Draw an ellipse to the size shown (the same size as the elliptical shapes). Select the Fill Tool (F5). From the drop down list of Fill Types on the Infobar, select Elliptical. Drag the center of the fill up and left as shown. Click on the inside square where the two arrows come together, then click the 20% Black color on the screen palette. Click either of the squares at the end of the arrows to select them and click the 70% Black color on the screen palette.
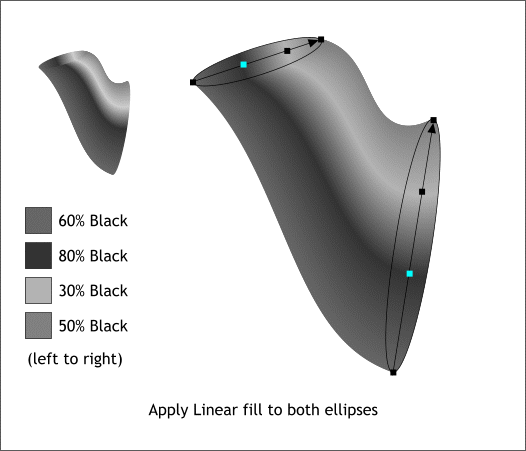
Zoom in close on the blended spout shape. Hold down the Ctrl key and click on the small ellipse at the top left to select just that part of the blend. Switch to the Fill Tool (F5) and from the drop down list of Fill Types, select Linear. Or just click the Fill Tool on the bottom of the ellipse and drag the fill path arrow to the opposite end. Double click on the fill path arrow to add a new color then double click again to add a second intermediate color. Select the left most control point and change the color to 60% Black. Select the second control point and change the color to 80% Black. Continue to change the color of the last two control points to 30% and 50% Black. TIP: You can move the middle control points on the fill path arrow by either dragging them or using the arrow keys on your keyboard. You can move from point to point on the fill path by pressing the Tab key. With the small ellipse selected, copy the ellipse (and fill) to the Clipboard (Ctrl c). Press the Tab key to select the large ellipse. (Pressing the Tab key when one end of a blend is selected toggles back and forth between the start and end object and in the case of a blend along a path, the path is selected in sequence as well). From the Edit menu, select Paste Attributes or press Shift Ctrl a. This copies the fill to the large ellipse. It may be necessary to adjust the fill path arrow as shown.
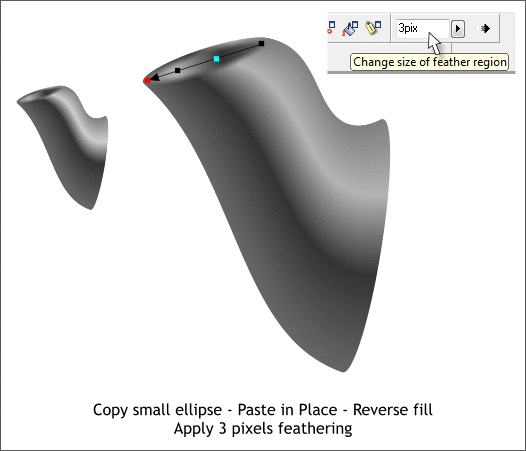
Ctrl click on the small ellipse again and Copy it to the clipboard. From the Edit menu select Paste in Place (Shift Ctrl v). Switch back to the Fill Tool (F5) and reverse the fill path arrow by dragging the ends of the fill path arrow to the opposite ends of the ellipse. This creates the illusion of seeing the inside of the spout. Add 3 pixels of feathering in the Change Size of Feather Region slider found at the top right area of the Infobar to soften the edges of the ellipse.
|
|||||||||
|
|
|||||||||


