 Using the Shape Editor Tool (or the Pen Tool)
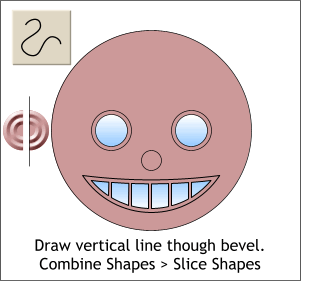
create a vertical line. Using the Shape Editor Tool (or the Pen Tool)
create a vertical line.Center the line over the beveled shape. From the Arrange menu, select Combine Shapes > Slice Shapes. The circle is now two half circles which we will use for ears.
TIP: To constrain a line drawn with the Shape Editor Tool to a vertical
or horizontal direction, click and drag the Shape Editor Tool. Hold down the Ctrl key after you begin to drag. The line will constrain to horizontal, vertical, or a few select angles
depending upon the direction you drag. |

 Center the five joined
rectangles over the white crescent shape. Select both the rectangles and the crescent shape.
Center the five joined
rectangles over the white crescent shape. Select both the rectangles and the crescent shape. 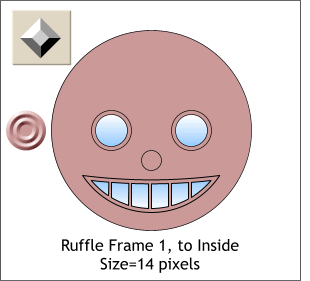 Select the circle (that we
set to the left side of the head) with the Bevel Tool. Drag towards the center to apply an Inside Bevel.
Select the circle (that we
set to the left side of the head) with the Bevel Tool. Drag towards the center to apply an Inside Bevel. Place the ears on either side of the head.