 |
 |
|||||||
| 0 1 2 3 4 5 6 7 8 9 10 11 Download Zipped Tutorial | ||||||||
|
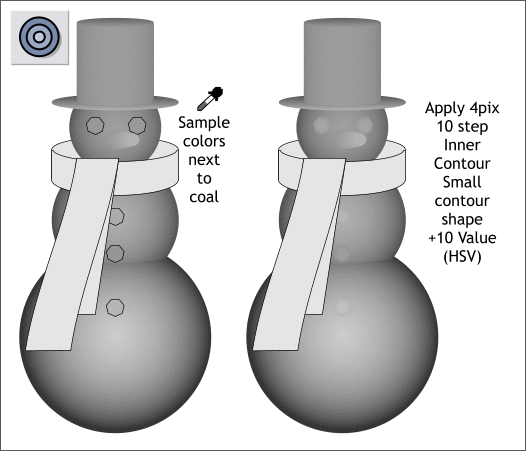
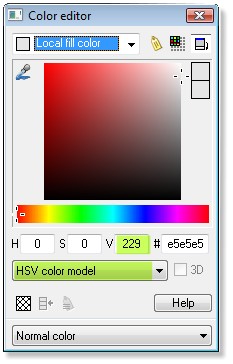
One at a time, sample the color next to each of the polygon shapes (the pieces of coal). Once you have changed all the colors, select all the polygon shapes then select the Contour Tool (Ctrl F7). Apply a 4pix Inner Contour. One at a time, click in the center of each contour, open the Color Editor (see below) and increase the Value setting by 10.
Edit each of the top shapes in the contour
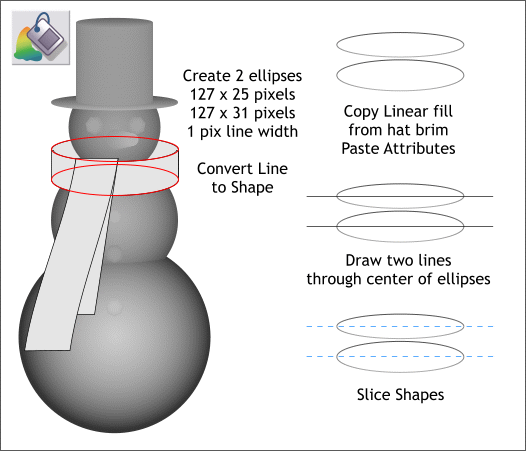
Create two ellipses (shown in red) to the sizes shown above. Change the Width to 1pix. Convert each of the ellipses to shape (Arrange > Convert Line to Shape). Copy the Linear fill from the hat brim and Paste Attributes (Edit menu) to the converted ellipses. Using the Shape Editor Tool (F4), create two horizontal lines. Align each horizontal line with the vertical center of the ellipse. Select one line and one ellipse and Arrange > Combine Shapes > Slice Shapes or press Ctrl 4. Repeat this step for the other line and ellipse.
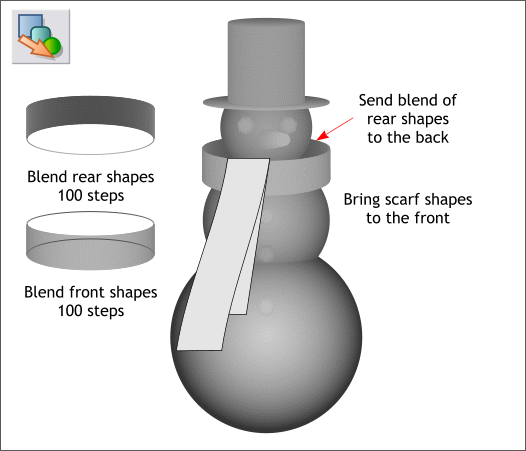
Create a 100-step Blend of the two rear arc shapes. Send the blend to the back (Ctrl b or Arrange > Put to Back). Create a 100-step blend of the front two arc shapes. This creates a kind of collar for the muffler.
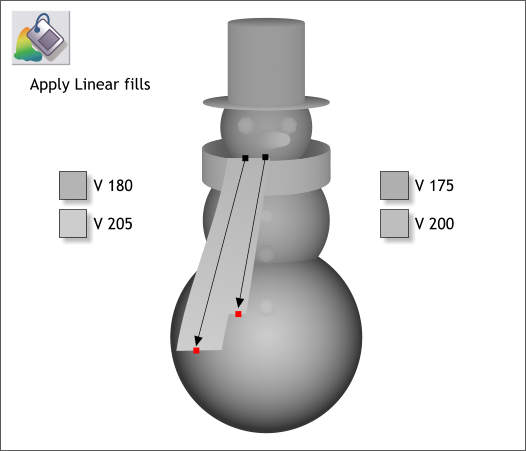
Apply Linear fills to the two rectangles as shown. The lighter colors are at the bottom of the fill and will make the ends of the muffler come forward. The colors are shown in HSV Value. The Hue and Saturation for each will be 0.
|
||||||||
|
|
||||||||
