 |
 |
|||||||
| 0 1 2 3 4 5 6 7 8 9 10 11 Download Zipped Tutorial | ||||||||
|
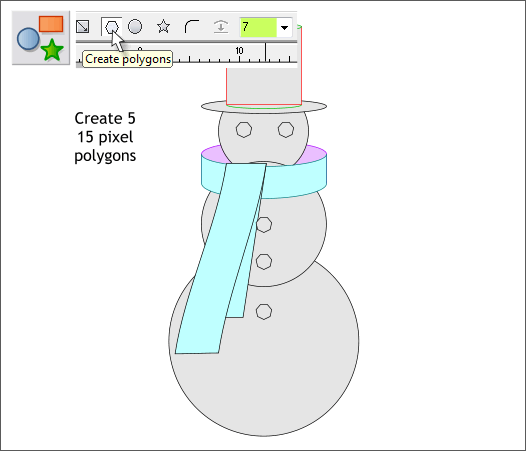
Select the QuickShape Tool (Shift F2). Click the Create Polygons icon. Change the Number of Sides to 7. Draw a polygon approximately 15 pixels wide. Drag and duplicate the polygon four times and place the duplicates as shown above for coal eyes and buttons. TIP: In older versions of Xtreme and Xara you can drag a selection with the left mouse button and click the right mouse button to drop a duplicate. In newer versions of Xtreme, you can simply drag a selection with the right mouse button held down. Release the right mouse button to drop a duplicate. Do this as many times as desired. Another method is to drag and press the + key on your numeric keypad. This is easiest for left handed mouse users.
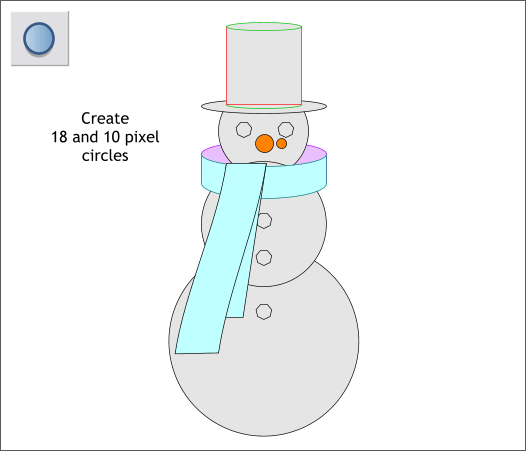
Create two small circles (shown above in orange) in the sizes and positions shown. These will later become a carrot for the nose.
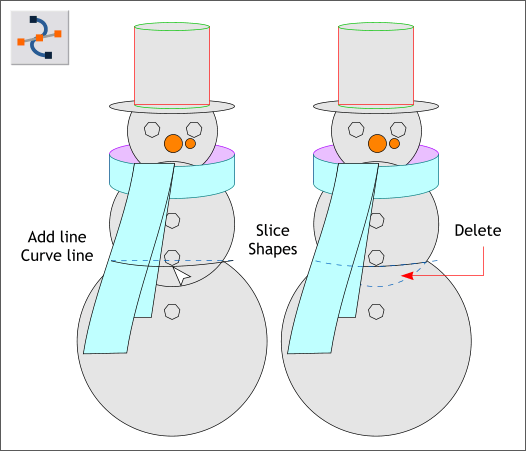
Select the Shape Editor Tool (F4). Click to the left of the intersection of the two larger circles. Hold down the Ctrl key. Click to the right of the first click and drag. The Ctrl key constrains the angle of the line. Drag down on the center of the line with the Shape Editor Tool. Make sure that both ends of the line pass through the intersection of the two circles. Select the line and the middle circle (the torso as it were). From the Arrange menu select Combine Shapes > Slice Shapes or press Ctrl 4. Delete the bottom of the middle circle. Select all the shapes (Drag a selection rectangle around all the shapes with the arrow pointer (the Selector Tool). Press Ctrl g or Arrange > Group.
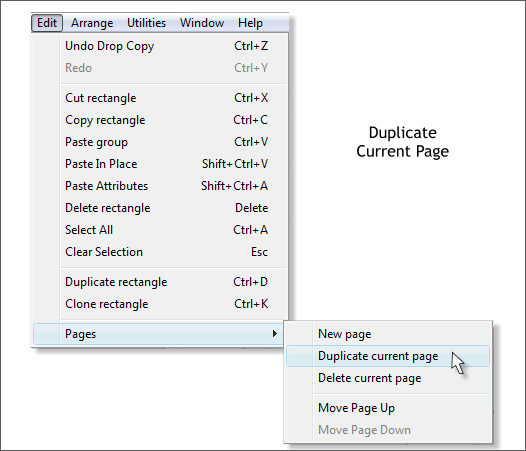
Draw a rectangle 700 pixels wide by 450 pixels tall. Select the rectangle and the group. Open the Alignment menu (Arrange > Alignment) and center the snowman inside the rectangle. TIP: The fastest way to do this is with both the group and rectangle selected, click in the center of the Alignment preview window. From the very bottom of the Edit menu, select Pages > Duplicate Current Page. We will use the objects on the duplicate page to create the depth image. If you are using an older version of Xara, you will need to create a new page, copy the snowman and rectangle (Ctrl c), go to the new page, and press Shift Ctrl v to paste in place. It is very important that both images are precisely aligned. Another method is to make your page portrait, and drag and drop the duplicate. Save your drawing and take a short break.
|
||||||||
|
|
||||||||


