 |
 |
|||||||
| 0 1 2 3 4 5 6 7 8 9 10 11 Download Zipped Tutorial | ||||||||
|
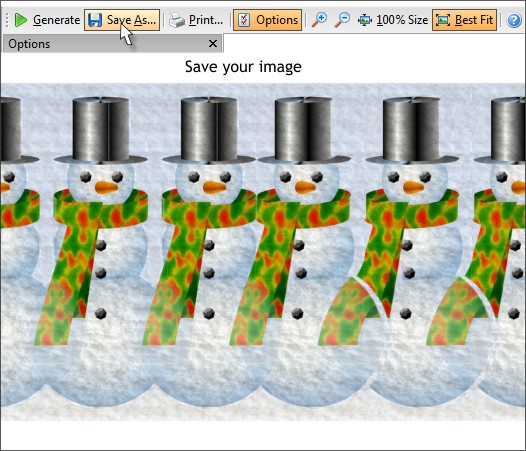
Here's the rendered image. When you view the image as a stereogram, there will be a snowman in the center that will pop out in 3D. You can save your image in a variety of file formats including GIF, JPEG, PNG, Photoshop PSD and Targa. You can print your image as well. I prefer to save the image and print out of Xtreme. It's a bit faster. A few last thoughts. The final image was a bit dark. This was because the color image was a bit dark to begin with. So I imported the saved stereogram back into Xtreme, selected it with the Photo Tool (P ), opened the Brightness Levels Dialog and pressed Auto. And for some reason there was a one pixel white line that appeared on the crown of the hat. You can see it in the image above. I simply created a thick vertical line the same color and covered up the white line. As many of you know, stereograms are my passion. You can see more of my stereograms images in my Stereogram Gallery at Graphics.com. Here are some previous Xara stereogram tutorials:
I used another program for the Hidden Image stereogram tutorial, but you can create the same stereogram using Stereographic Suite 2. I use Stereogram Suite now for almost all my new stereograms. I worked with Yury Plashenkov, the developer of Stereographic Suite on this latest version. Well, Yury did all the hard work, I just made suggestions and helped with the wording for the Help files. This is the easiest stereogram application and the most powerful as well. I highly recommend it to anybody who wants to create stereograms. And, it also makes a terrific holiday gift for yourself or anyone on your holiday gift list. Your feedback is always welcome. This was a complicated tutorial and I am not sure I covered each step as thoroughly as I could. So if you have any comment, questions, suggestions, just click the Send email link below and let me know what's on your mind. Gary W. Priester
|
||||||||
|
|
||||||||
