 |
 |
|||||||
| 0 1 2 3 4 5 6 7 8 9 10 11 Download Zipped Tutorial | ||||||||
|
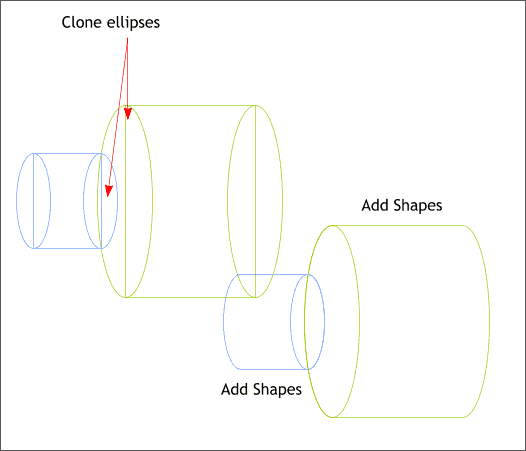
Clone the two ellipses indicated above (Ctrl k). NOTE: Clone makes a duplicate copy in the same position as the original. Duplicate makes a duplicate copy but offsets the duplicate down and to the right. Select the two small ellipses (but not the clone) and the small rectangle and Combine Shapes > Add Shapes (Ctrl 1). Repeat this step for the two larger ellipses (but not the large clone) and the larger rectangle. You should have two ellipses and two shapes as shown above right.
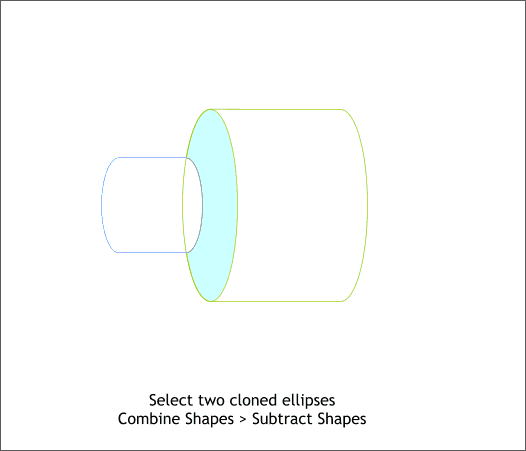
Make sure the smaller of the two remaining ellipses is on top (select it and press Ctrl f). Select the two ellipses and Combine Shapes > Subtract Shapes . This should create the shape shown above in pale aqua.
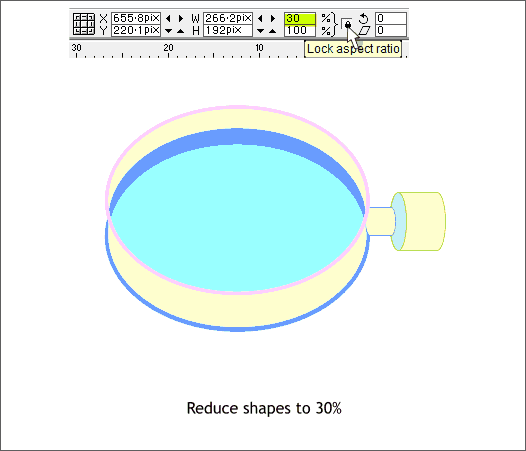
Select all of the shapes you just created in the last few steps for the connecting parts, make sure the Lock Aspect Ratio is in the down position (enabled). Key in 30 in the % text entry box and press Enter to apply the change. Position the shapes to the right of the glass and holder as shown above. Save your drawing and take a short break.
|
||||||||
|
|
||||||||


