 |
 |
|||||||
| 0 1 2 3 4 5 6 7 8 9 10 11 Download Zipped Tutorial | ||||||||
|
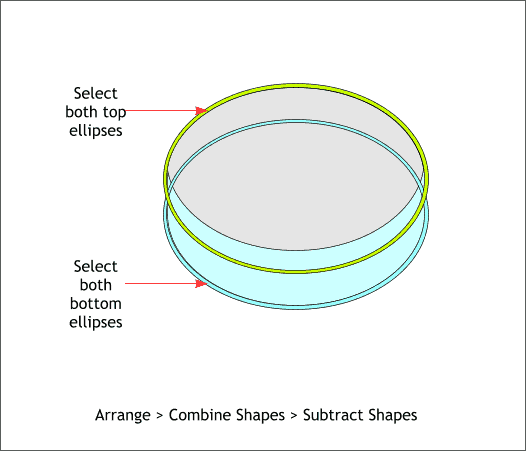
Select the two top ellipses and Arrange > Combine Shapes > Subtract Shapes or press Ctrl 2. Repeat this step for the bottom two original ellipses. This creates two O shapes which are shown above in pale green and light blue blue.
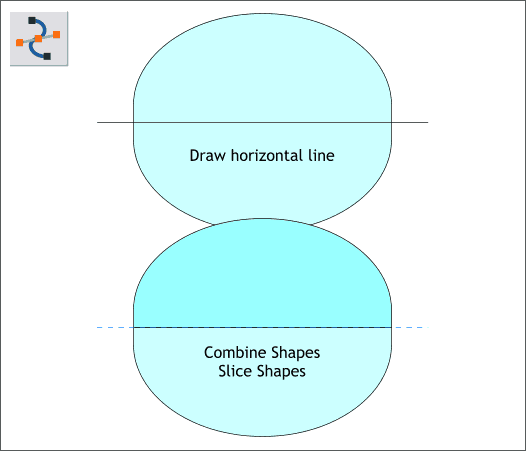
Using the Shape Editor Tool (F4) draw a horizontal line through the vertical center of the combined shape. (Click on the page, hold down the Ctrl key and click and drag the line to the left or right). Use the Align menu (Arrange > Alignment) to center the line and the shape.
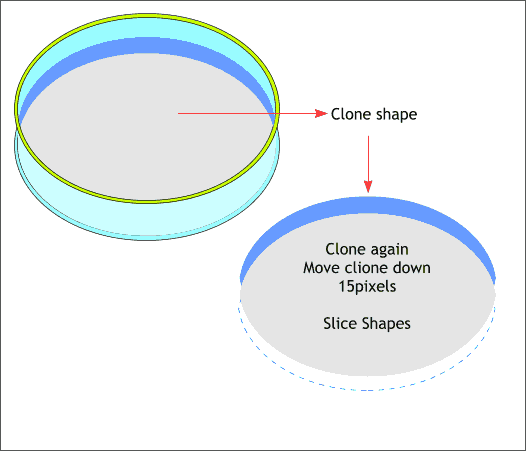
Clone the intersected shape shown above in gray. Move the clone down 15 pixels. Select the intersected shape and the clone and Combine Shapes > Slice Shapes (Ctrl 2 ). This creates a new shape shown in the example above in blue.
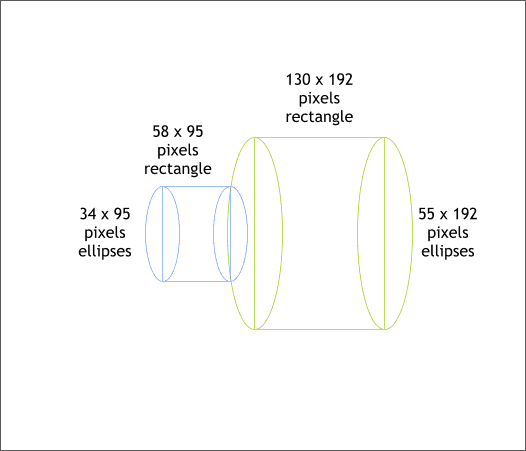
Next, you will make the shape that connects the glass to the handle. We'll work larger and then reduce the shapes down to size later. Create the ellipses and rectangles to the sizes and positions shown above. Note the alignment of the blue ellipses and rectangle with the left green ellipse . The center of the right blue ellipse is centered on the outline of the green ellipse.
|
||||||||
|
|
||||||||


