|

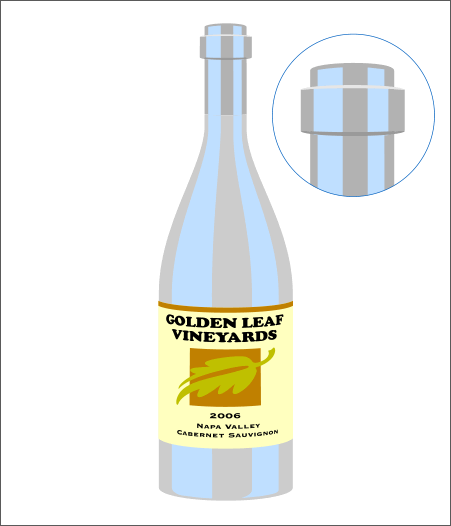
Oops! One more step before we can start coloring.
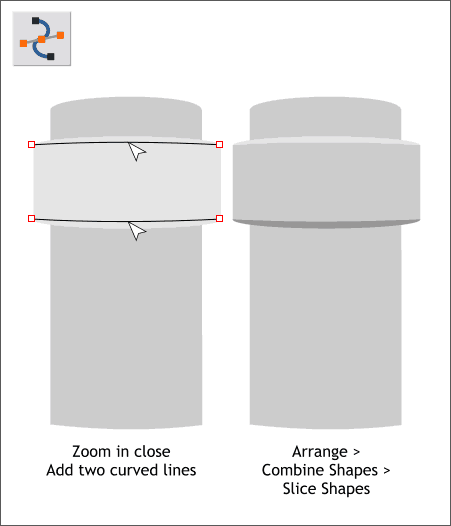
Zoom in close on the rounded rectangle at the top of the bottle. Add two horizontal lines with the Shape Editor Tool (press the Esc key to start a new
line). Extend the lines a tiny bit beyond the rectangle and curve each slightly.
Select the top line and the rectangular shape and Arrange > Combine Shapes > Slice Shapes (Ctrl 4). Repeat this step for the bottom line and
shape. I have added some different tones of gray to show the results.

Bring the two curved shapes in front (Ctrl f) of the highlights.

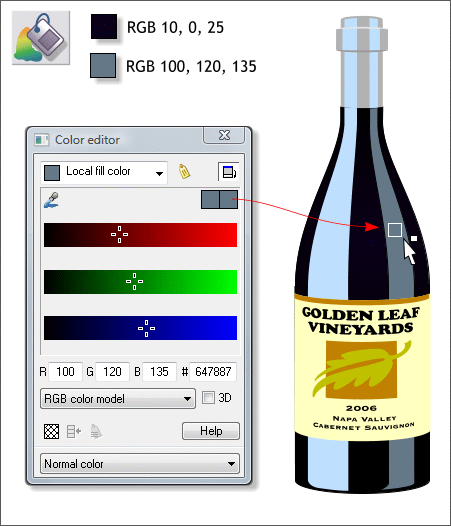
Open the Color Editor (Ctrl e) and select the RGB Color Model option. If your RGB values are shown in percent (%) you will need to change your Color Units to 0-255 in Utilities
> Options... > Units > Color Units.
Apply the dark color shown above to the bottle and the deep gray color to the right highlight.
TIP: I have used Xara for well over 12 years and I just learned this trick from Steve Ledger (sledger). After you mix your color, you can drag and drop the color from the Color Editor
onto any shape or group of shapes.
|