|

Next we will will create a label for the bottle.
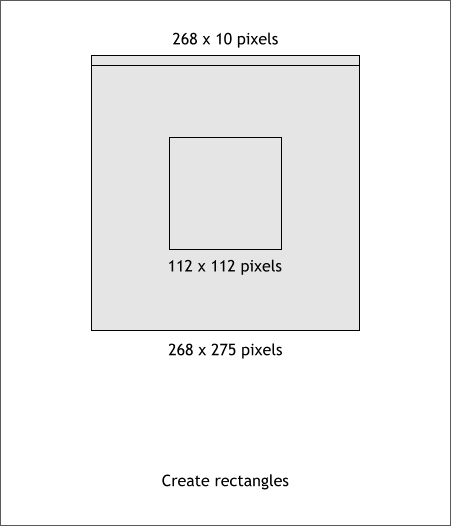
Start with the three rectangles shown above. (Press M for the Rectangle Tool). To draw a square, hold down the Ctrl key when you drag the Rectangle Tool
. Align the square in the center of the label shape and align the short wide rectangle along the top edge of the label shape.

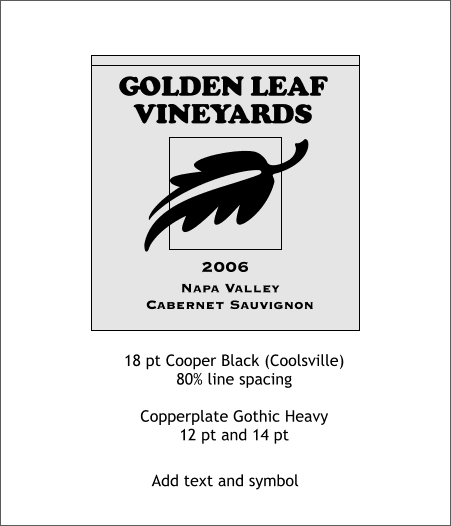
Add text and a symbol as illustrated above. If you are lazy, the label art has been predesigned for you. Click here.

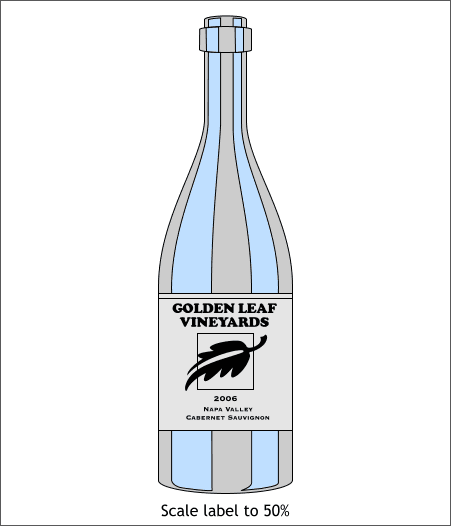
Reduce the size of the label art (unless you are using the predesigned version) to 50%. With the label art selected, enter 50 in either of the % text entry boxes on the Infobar and press Enter
(or Return) to apply the change.
|