|

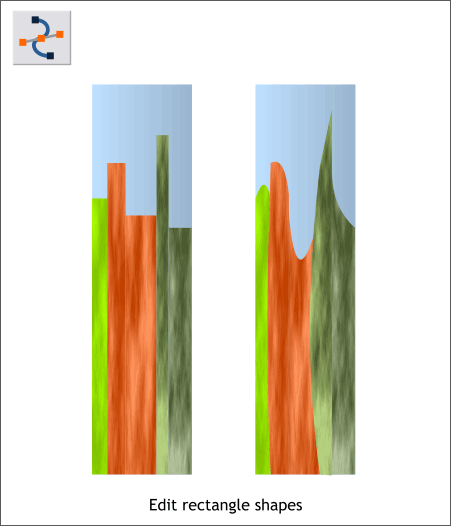
One by one, select the smaller rectangles then switch to the Shape Editor Tool (F4). Alter the rectangles both at the top and the width to make shapes that are not so rectangular.

Group the large rectangle and the smaller modified rectangles.
Place the left highlight shape over the group.
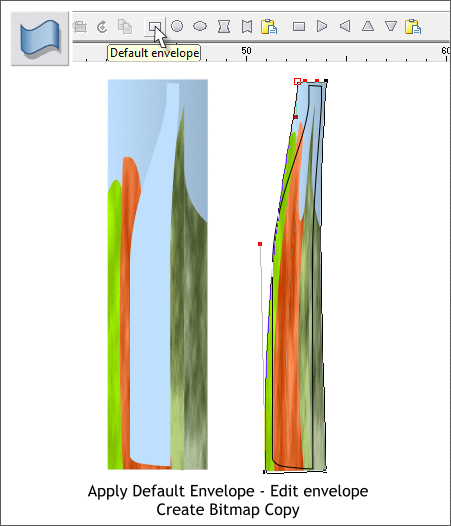
Select the group then select the Mould Tool (Shift F6). Apply a Default Envelope.
NOTE: There are two categories of envelopes. The first set of envelopes apply a curved side when edited. The second set are "straight sided"
envelopes and with these, the edited sides are straight.
Edit the group of modified rectangles to more or less the shape of the highlight. It does not have to be exact and a bit wider is fine.
Right click on the enveloped group and select Create Bitmap Copy...
Set the Color Depth to True Color and in the Bitmap Size tabbed section, set the Resolution to 300dpi.

Select the highlight shape (not the enveloped shapes or the bitmap).
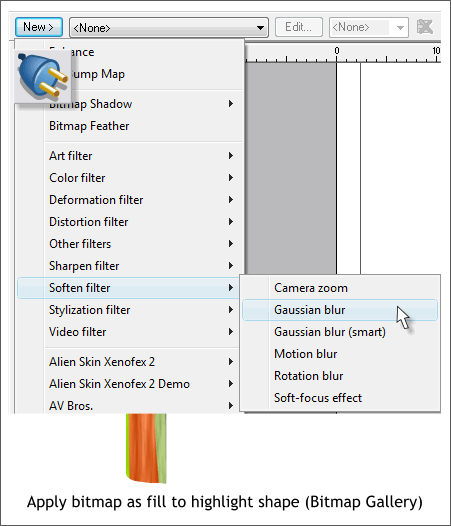
Open the Bitmap Gallery (F11). Select the new bitmap and press Fill.
Select the Live Effect Tool (Ctrl F5) then click New >
From the New > drop down list, select Soften Filter > Gaussian Blur.

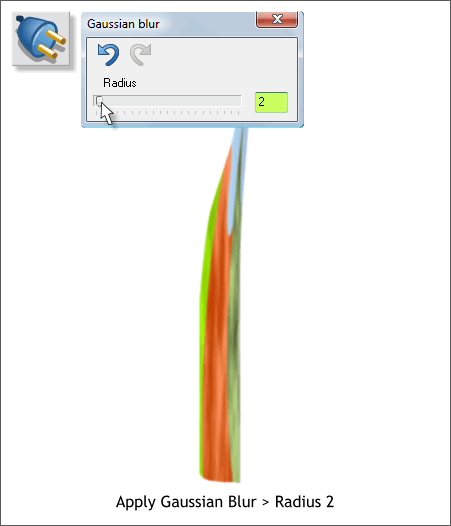
Set the Radius to 2 and press the X to close the dialog.
|