|
||
|
|
Construct a smaller square and place it over the four triangles. Select the background image and Copy it (Ctrl C). Select the small square and Paste Attributes (Shift Ctrl A). |
||||||||||
Select the square and apply a Stained Glass Transparency, Flat
, 100%. Create two 1.5 point lines, group them and make three duplicates. Use the Horizontal Align Distribute Equi-spaced setting in the Align menu (Arrange) to evenly space the lines.
Ungroup the lines and change the line colors using the same four colors specified above. Rotate the lines and position them as shown. Group all the elements and reduce the size to 50 pixels. |
||||||||||
|
||||||||||
 |
 |
 |
||||||||
|
||||||||||
 Using the Rectangle Tool, hold down the
Ctrl key and construct a 100 pixel square.
Using the Rectangle Tool, hold down the
Ctrl key and construct a 100 pixel square. Using the colors shown on the
left, color the four triangles.
Using the colors shown on the
left, color the four triangles. Duplicate the smaller square using Ctrl K
. Change the fill color to black. With the square selected, select the Fill Tool and select Diamond from the Fill Types drop down list.
Duplicate the smaller square using Ctrl K
. Change the fill color to black. With the square selected, select the Fill Tool and select Diamond from the Fill Types drop down list.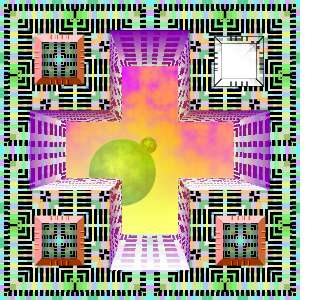 Make three duplicates and position
the four squares as shown here.
Make three duplicates and position
the four squares as shown here.