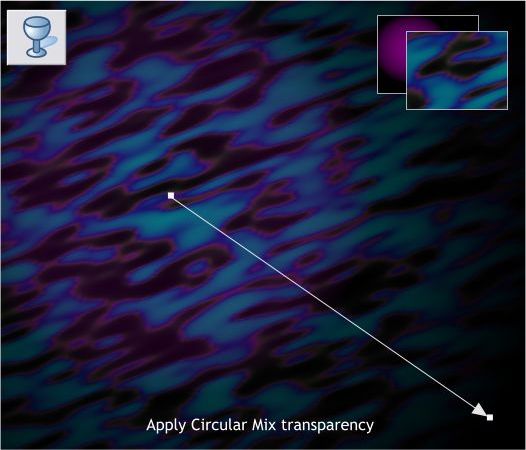


Bring the Fractal Plasma filled rectangle to the front (Ctrl f). Select this
rectangle with the Transparency Tool (F6).
Apply a Circular, Mix transparency. Move the center of the transparency
as shown and extend the fill path arrow as shown.
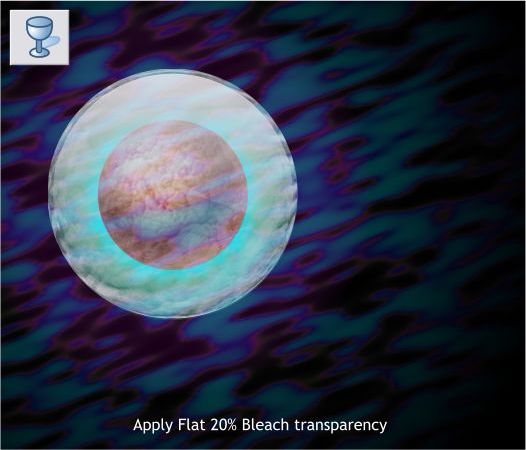
This next step is optional because I removed it at the end of the
tutorial. Feel free to skip ahead to the next step. If you want to get
your money’s worth you can apply a Flat, 20% Bleach transparency to
the planet shape group.
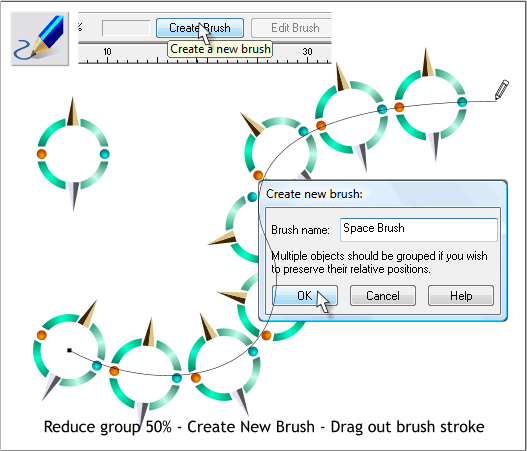
OK. Back to the first object we created. We’ll use this object to create
a custom brush to add an air of mystery to the composition.
Reduce the size of the group to 50%.
Select the grouped shapes then select the Freehand and Brush Tool
(N). Click New Brush on the Infobar. Name your brush and press OK.
Draw out a wavy upward line with the Freehand and Brush Tool.


