|

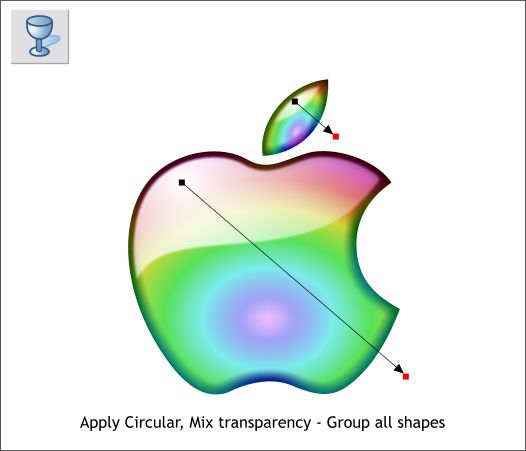
Select the large white highlight shape, then select the Transparency Tool (F6). Click in the top left area of the white highlight and drag down and to the right to apply an interactive Linear
transparency. Repeat this step for the highlight on the leaf.
With the Selector Tool (the arrow pointer) drag a selection rectangle around all the apple and leaf shapes.
NOTE: Unless you have selected the Select Objects Touched By Rectangle option (Page Options > General), your selection rectangle needs to encompass all of the shapes. (
Select Areas Touched By Rectangle operates in the same manner as Adobe Illustrator).
Group all the shapes (Arrange > Group or Ctrl g).

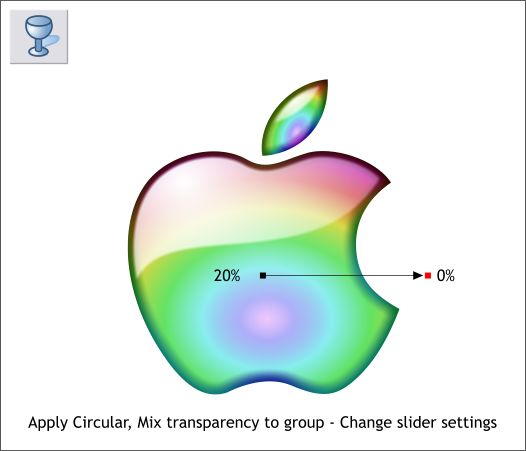
Click on the group with the Transparency Tool (F6) to select the group. From the drop down list of Transparency Shapes on the left hand side of the Infobar, select Circular.
Click on the center control point and change the Transparency slider setting to 20%. Select the outside point and change the setting to 0%.
Two Notes: You will not see much difference but the inside area of the apple is now slightly transparent. Xtreme treats a group of objects as a
single object so the transparency is applied to the group as if it were a single object.
Save your drawing and take a short break.
|