|

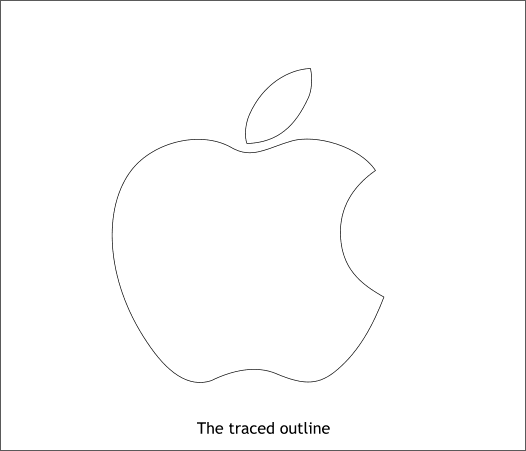
Here is my vector outline. Delete the bitmap. Reduce the size of the vector outline to 270 pixels wide.

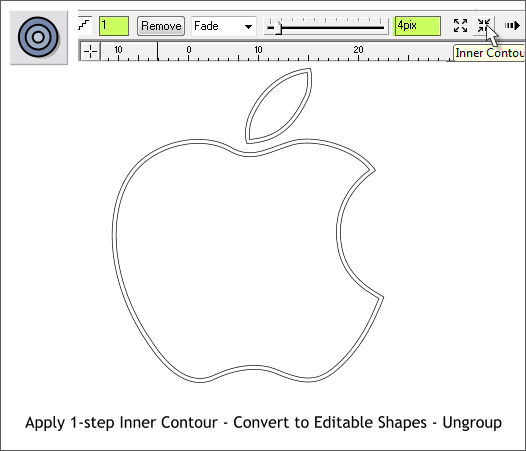
With the apple and leaf shapes selected, switch to the Contour Tool (Ctrl F7). Drag any of the red arrow control handles a short distance towards the center of the apple. Change the number of Contour Steps on the Infobar to
1 and press Enter to apply the change. Change the Contour Width setting to 4pix and press Enter to apply the change.
With both shapes selected, from the Arrange menu, select Convert to Editable Shapes and then Arrange > Ungroup.

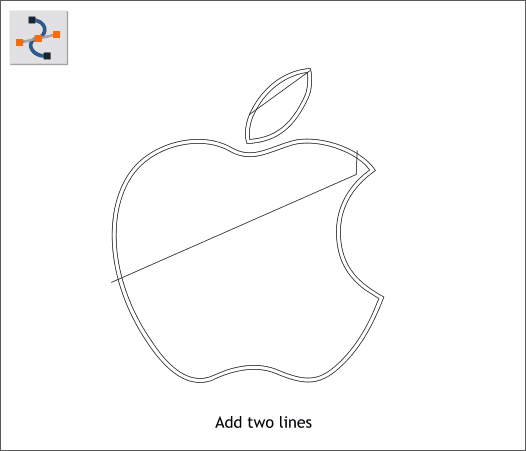
Select the Shape Editor Tool (F4) and add two lines as shown above.
|