|

Select all the objects. Right click and select Create Bitmap Copy.... Set the Color Depth to True Color and in the Bitmap Size tabbed section, set the Resolution to 300dpi
. Hold down the Shift key and press Create. The Shift key creates the new bitmap in exactly the same position.
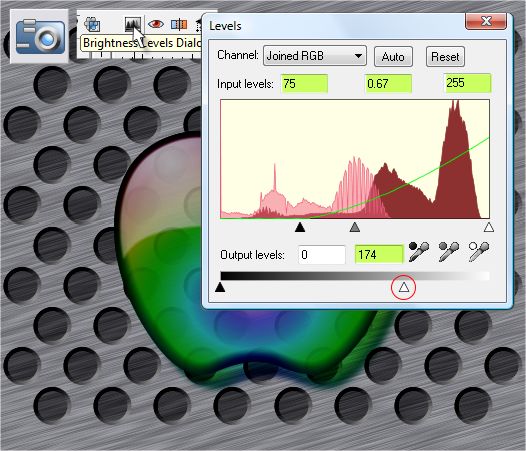
Switch to the Photo Tool (P). On the Infobar click the Brightness Levels Dialog icon. Change the levels settings as shown above. Click the X to close
the dialog when you are finished. This creates a darker version of the image.

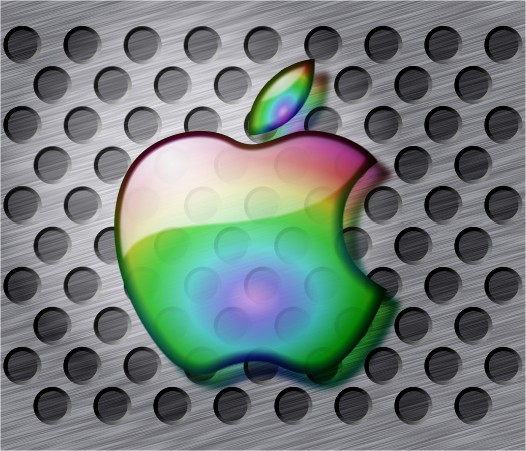
Apply a Circular transparency to the edited bitmap and move the center of the transparency up and to the left of the logo's highlight. Reverse the inside and outside settings so that the middle setting is
100% and the outside is 0%.
That's it. I'd love to know if Photoshop users think creating this logo is easier or harder in Xtreme than in Photoshop. I suspect it is much easier (if not more intuitive) in Xtreme. But I am also prejudiced.
And that's it for the first tutorial of 2009.

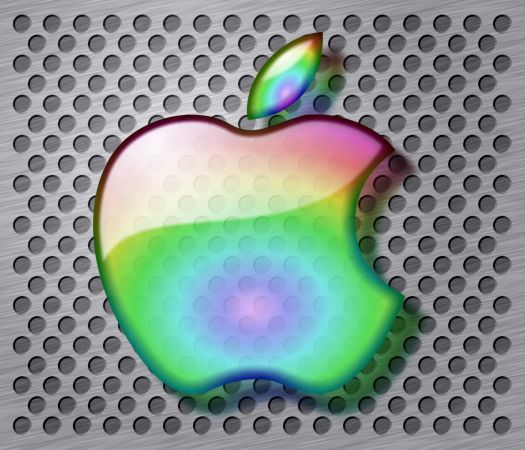
Here's a variation. I made the dots smaller and make them lighter. Do you like this version better?
So, what do you think? Your feedback is always welcome and important to my fragile psyche. Do you like the new site graphics? Any questions or comments
or suggestions about the tutorial? Fire away. I'm here to serve.
Gary W. Priester
Your Host
Send e-mail
|