 |
 |
|||||||
| 0 1 2 3 4 5 6 7 8 9 10 11 Download Zipped Tutorial | ||||||||
|
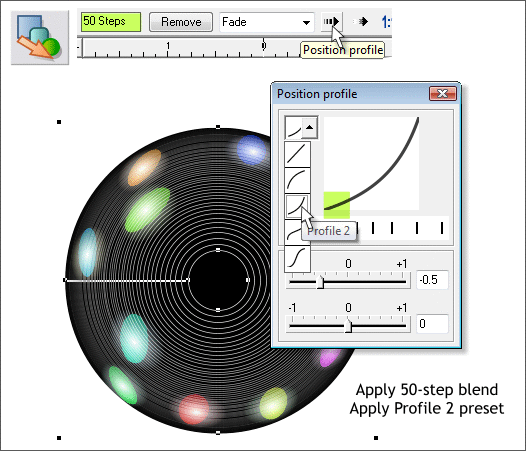
Select the Blend Tool (F7). Click on the larger circle and drag to the smaller circle to create a blend. Increase the number of Blend Steps to 50 and press Enter to apply the change. Click the Position Profile arrow on the Infobar (shown above). From the Presets drop down list, select Profile 2. As you can see in the above example, this forces the blend to accelerate more to the outside. If you have an outline around your circles, set the outline to none by either selecting None from the Width drop down list or right clicking on the cross hatched box to the left of the screen palette. This is another method for creating a fisheye lens effect.
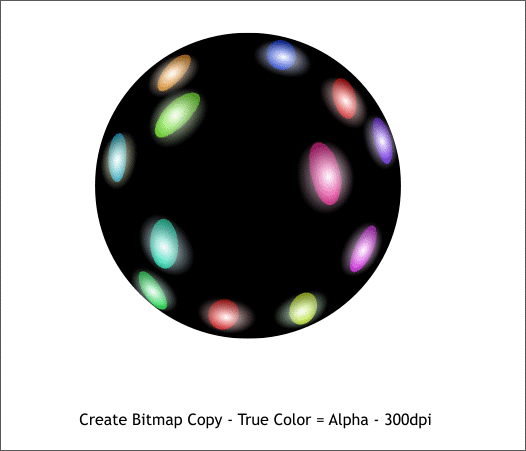
Right click on the blend and select Create Bitmap Copy... from the pop up menu. Use the True Color + Alpha transparency option. Set the Bitmap Size to 300dpi. Press Create. NOTE: Xtreme and Xtreme Pro Version 3.2 treats a blend as a single object so creating the bitmap is not really necessary. I did it out of habit. If you apply transparency to the blend, Xara Xtreme treats the blend as a single object.
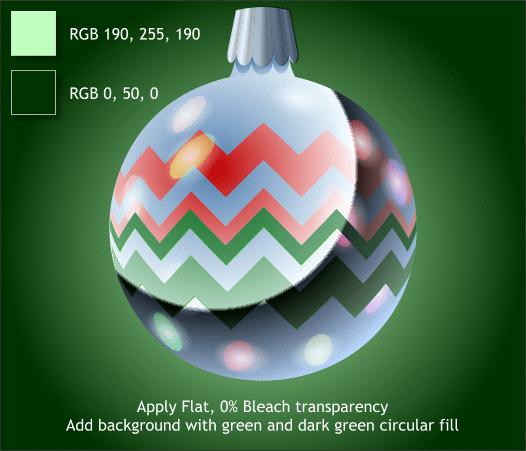
Add a rectangle behind the ornament. My rectangle is 525 x 450. Apply a light and dark green Circular fill to the rectangle. Place the bitmap over the ornament. Select the Transparency Tool (F6) and apply a Flat, 0%, Bleach transparency. Bleach treats black as transparent and just adds the lights and flares as reflections. And that's it. On the next page I'll show you how my drawing turned out.
|
||||||||
|
|
||||||||


