 |
 |
||||||
| 0 1 2 3 4 5 6 7 8 9 10 11 Download Zipped Tutorial | |||||||
|
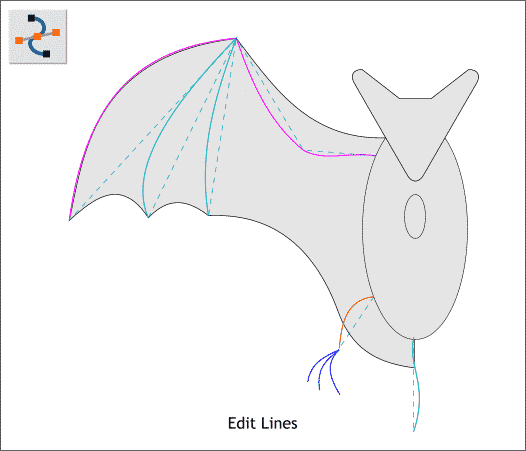
Select each of the lines you just created with the Selector Tool (the arrow pointer) then switch to the Shape Editor Tool. Drag the lines in to curves as shown above. TIP: Select all the lines then switch to the Shape Editor Tool. You can edit each line individually without having to switch back and forth from the Selector Tool to the Shape Editor Tool.
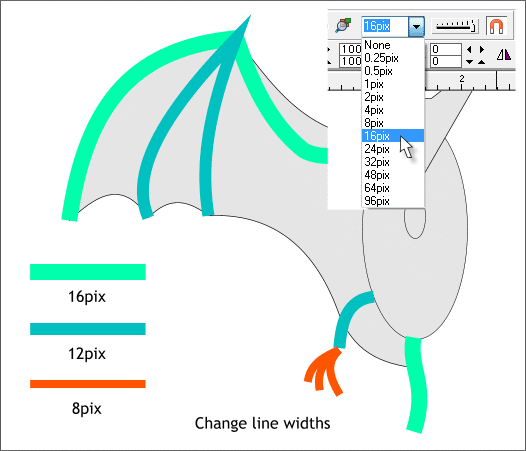
Select the lines and change the line widths as shown above. (With a line selected either select a width from the Width drop down list or key in a number in the Width text entry box and press Enter to apply the change).
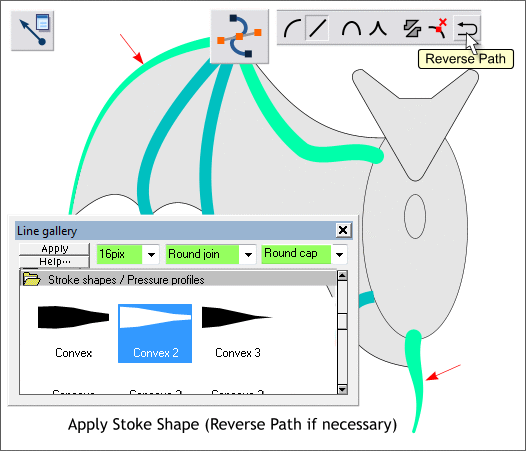
Open the Line Gallery (F12) then open the Stroke Shapes / Pressure Profiles folder. Select the two lines shown above in aqua green (the arm and tail). Scroll down to Convex 2 . Select this stroke shape and press Apply. NOTE: Where the taper appears on the line depends on which direction the line was created. If your tail or arm is pointed on the wrong end, switch to the Shape Editor Tool (F4) then press the Reverse Path icon shown above, top right. With the arm and tail selected, select the Round Join and Round Cap options as shown.
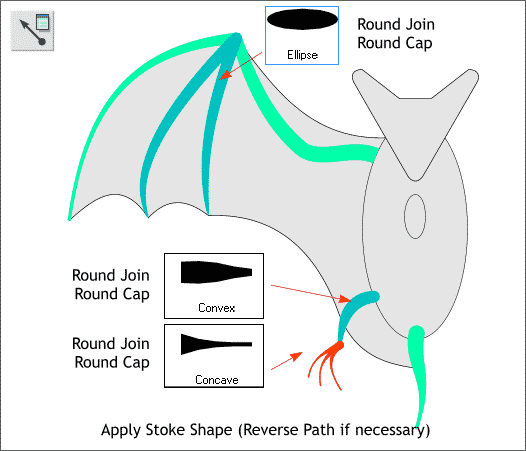
Select the V-shaped line and apply an Ellipse stroke shape with both the Round Cap and Round Join options. Apply a Convex shape to the leg and Concave stroke shape to the claws. Save your drawing and take a short break.
|
|||||||
|
|
|||||||


