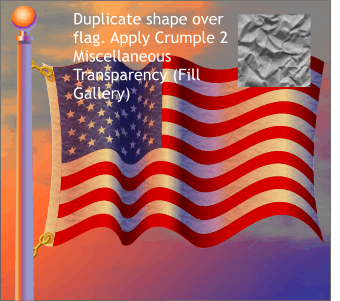
 Flags tend to be slightly puckered. We
can add this wrinkled effect to the flag to impart more realism. Flags tend to be slightly puckered. We
can add this wrinkled effect to the flag to impart more realism.Clone (Ctrl K) the colored, transparent shape that gives the flag its color and shape. Open the Fill Gallery then open the Miscellaneous Fills
folder. Select the gray rumpled paper fill (Crumple 2) and press the Transp button to apply a the texture to the flag.
NOTE: If you do not find Miscellaneous Fills in the Fill Gallery,
place the Xara X CD disc in your CD drive. Open the Fill Gallery (the pouring paint can icon on the top right portion of the Infobar) and click Disc Fills. Xara will attempt to locate the CD
in your CD drive and display the Fill directory. Select any of the folders in the Fill directory and press Add. Xara may notify you there in no index (thumbnail images) and would you like one created? Say yes
. Xara will add all the fills and thumbnail images to the Fill Gallery. The fills will remain on the CD and to access the fills you need to have the CD in your CD drive. If
drive space is not problem, you can copy the fills to your hard drive where you can access them much faster. |

