|
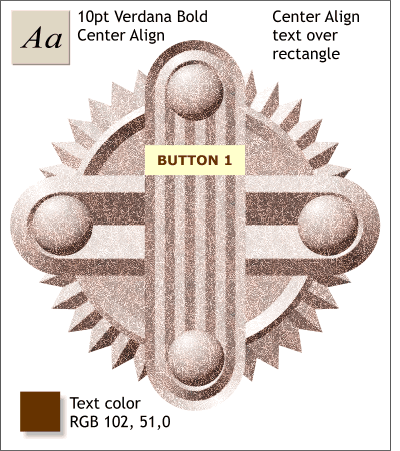 Add the text, Button 1, in Verdana Bold (or a
similar font), 10 points, and center align the text by pressing the Center Justify icon on the Infobar at the top of the screen. Add the text, Button 1, in Verdana Bold (or a
similar font), 10 points, and center align the text by pressing the Center Justify icon on the Infobar at the top of the screen.Center the text inside the rectangle. Change the color of the text to deep reddish
brown or RGB 102, 51, 0.
NOTE: To center the text inside the
rectangle, or any other kind of alignment, use the Object Alignment menu (Arrange > Alignment)TIP: To center selected objects, click in the center of the preview window in the Object Alignment
menu. |

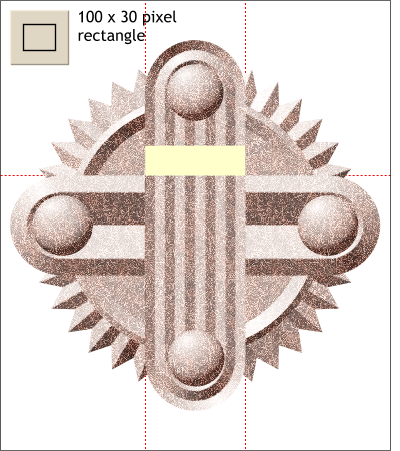 Using the Rectangle Tool, create a rectangle
100 pixels wide by 30 pixels tall. Set the outline to none.
Using the Rectangle Tool, create a rectangle
100 pixels wide by 30 pixels tall. Set the outline to none. 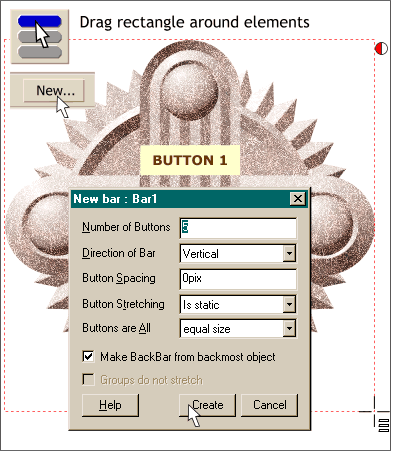 Make sure all the beveled objects have been grouped. (Do not
group the text and rectangle).
Make sure all the beveled objects have been grouped. (Do not
group the text and rectangle).