|
 Clip View is similar to Illustrator's
Mask effect and Corel's PowerClip effect. But unlike these, Xara can move the object inside the container, or move the container around the clipped object. Clip View is similar to Illustrator's
Mask effect and Corel's PowerClip effect. But unlike these, Xara can move the object inside the container, or move the container around the clipped object. When you Apply Clip View, two small keyhole icons appear. Click
the one on the top left and the mask can be moved around the contents. Click the center icon and the contents can be repositioned inside the container. To remove the contents, select Remove Clip View from the Arrange
menu. Unlike Corel's PowerClip, which requires an additional two steps to edit the clipped contents, when the center keyhole is selected, you can edit the contained objects on the spot. And now back to the tutorial.
|
|


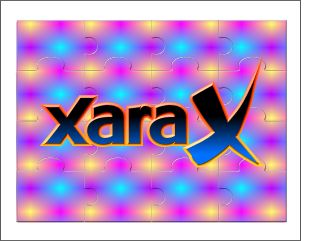 Center the beveled logo over the
puzzle pieces. (Easy step!)
Center the beveled logo over the
puzzle pieces. (Easy step!)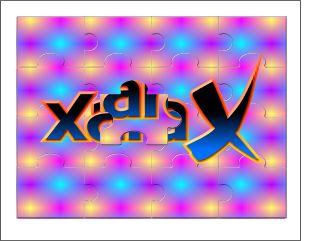 Select the puzzle piece that is
under the ar of Xara and make a duplicate (Ctrl K). Next select the beveled logo and make a duplicate. (Xara places each duplicate on top). And for this next step the logo has to be on top of
the puzzle piece.
Select the puzzle piece that is
under the ar of Xara and make a duplicate (Ctrl K). Next select the beveled logo and make a duplicate. (Xara places each duplicate on top). And for this next step the logo has to be on top of
the puzzle piece.