|

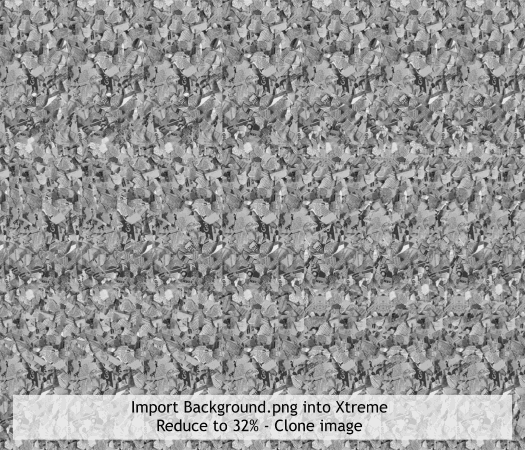
Import the image Background.png into a new page in Xtreme.
The image may import at 96dpi and fill more than the screen. Reduce the image to 32% by entering 32 in the % text entry box on the Infobar. Press Enter
to apply the change. The resolution on the Status Bar should show 300dpi.
Clone the image (Ctrl k).

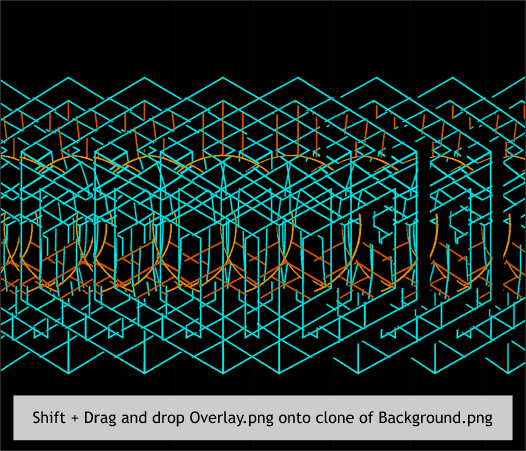
Hold down the Shift key. Drag and drop the image Overlay.png from the Desktop and onto the clone. This replaces the cloned image with the new image and at the correct size and resolution.

There are two ways to get rid of the black background. The first works better if the image underneath is very dark. Select the image, then select the Transparency Tool (F6
) and apply a Flat, Bleach, 0% transparency.
Because the underlying stereogram is not real dark this is not altogether successful.
So, undo the transparency operation and return the image to the black background.
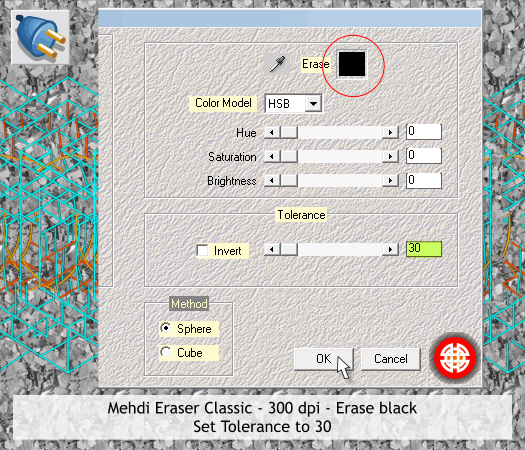
Select the Live Effects Tool (Ctrl F5). Click New > and from the Mehdi folder, select Eraser Classic.
Click the Erase square and select black from the palette of colors. Set the Tolerance slider to 30. This will include some of the anti-aliased pixels. Press OK
. On the Infobar, change the Resolution of Effect setting to 300dpi. This filter drops out most of the black while preserving the full color and intensity of the colored lines.
Save your work and take a short break. We are almost done.
|