|

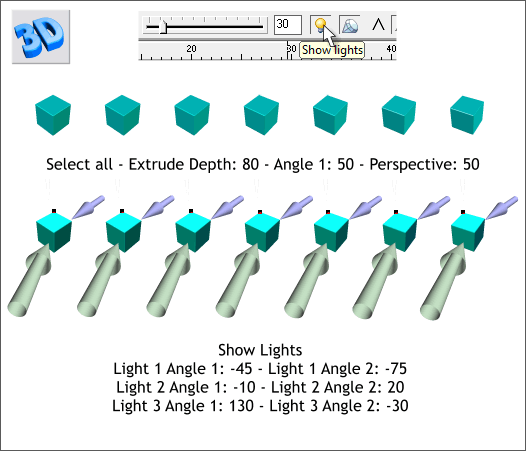
Select all the squares then switch to the Extrusion Tool (e).
Press the small 3D icon at the top left of the Infobar.
Set the Extrusion Depth to 80 and press Enter. From the drop down list, select Angle 1 and change the setting to 50. Select Perspective and change the setting to 50
. Press Enter after each change unless you use the slider to change the setting.
Click the Show Lights icon and adjust the lights to provide more shape to the cubes. Or select the Light Angles from the drop down list and use the numbers shown above.

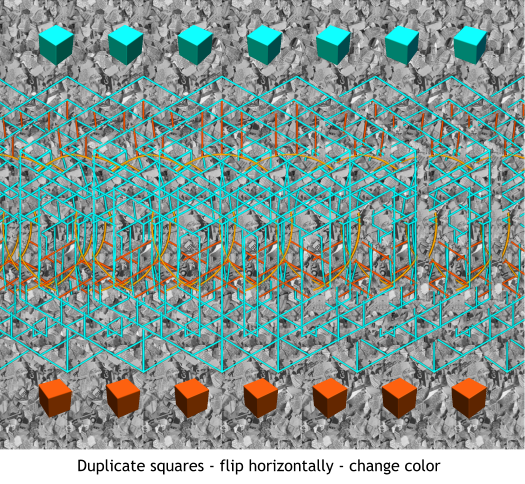
Place the extruded cubes along the top as shown. Duplicate the cubes and bring them to the bottom and flip them horizontally. Change the fill color to
orange. Notice the cubes on top seem to float in front of the hidden 3D cube and float under the 3D cube. Optical illusion.
Use the Object Alignment dialog again as the spacing may have changed ever so slightly when you added the extrusion.

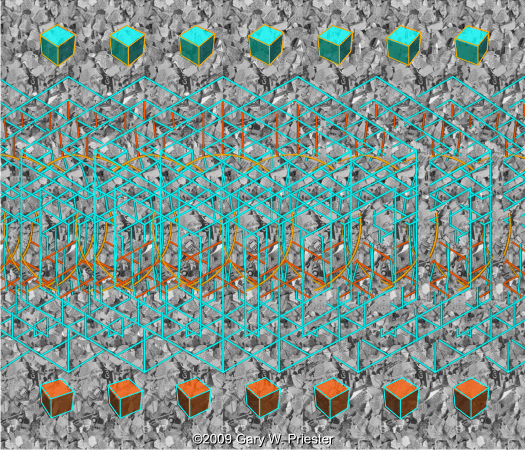
Here is the finished hybrid stereogram. I grouped the floating cubes and added a small amount of transparency. I also (because I am so inclined) added
outlines around the cubes, one line at a time.
To learn more about how stereograms work and/or to see more stereogram images, visit www.Custom-Stereograms.com.
I hope this tutorial has been useful. I am taking quite a risk giving away my trade secrets after all.
Your comments, questions, and sigh, even your suggestions, are always welcome. And I would love to see your stereogram images.
Gary W. Priester
Send e-mail
|