|

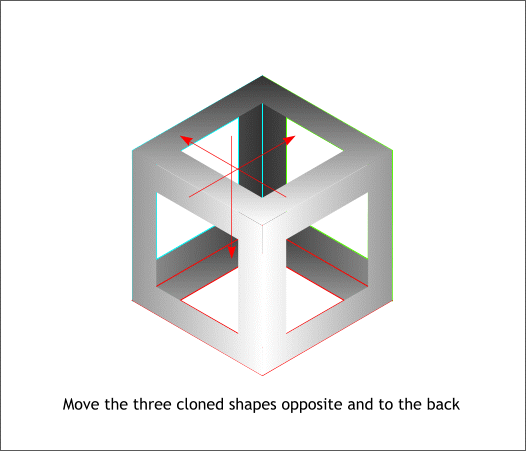
Move each of the cloned shapes to the opposite side and send them to the back (Ctrl b) to complete the cube.

Go back to the first page and delete the gray Linear filled shapes leaving just the black shapes with the cyan outlines.
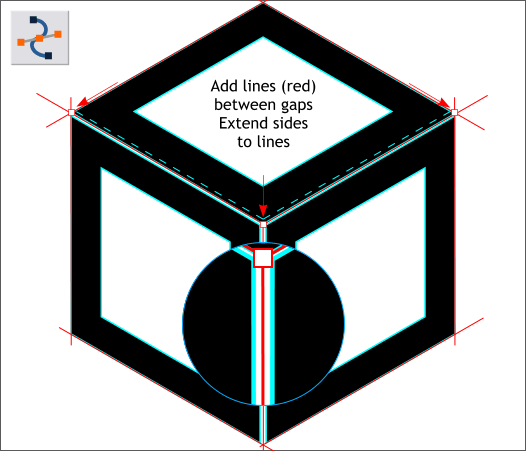
This next step is a little vague. We want to eliminate the Y-shaped space where the three diamond shapes come together. So, first create a vertical line
that is halfway in between the two black shapes as shown in red in the enlargement. Zoom in to 300 or 400 percent for accuracy. The top of the line should end in the center of the three shapes.
Clone this vertical line, change the Origin Position to the top using the Set Origin Position buttons (the icon on the Infobar with the nine small buttons)
and rotate the line 120 degrees from the top. Repeat this step again. Make sure that these new lines are halfway between the shapes and that they form
a Y. Make duplicate lines and place them on the outside and top edges as shown above. We will use these as guidelines.
Select the top shape and then select the Shape Editor Tool (F4).Individually, extend the bottom side down and out so the control points are over the intersection of the lines.
Repeat this step with the left and right shapes to close the vertical center gap.

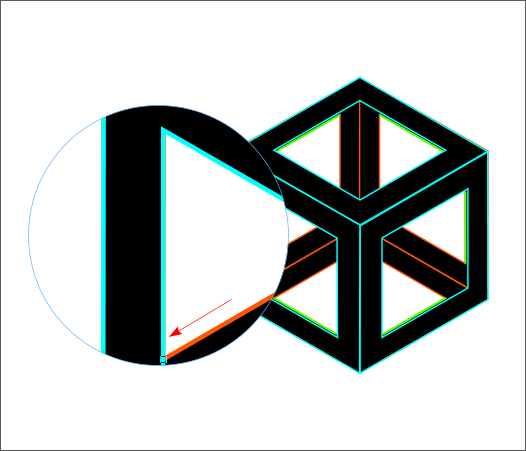
Clone the top and sides and move them to the opposite ends as shown in the red outline versions.
Select each of the back shapes (shown with red outlines) and extend the sides shown in green behind the front shapes. The idea here is to simplify the
outlines by eliminating the sides shown in green.
|