|

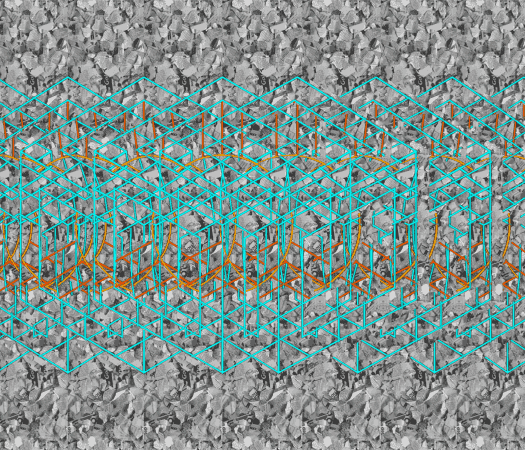
So here is where we are. See how the lines increase the definition of the hidden image without giving the hidden image away.
Now let's add some floating cubes to fill up those empty spaces on the top and the bottom. The new Extrude Tool will make the job easy.

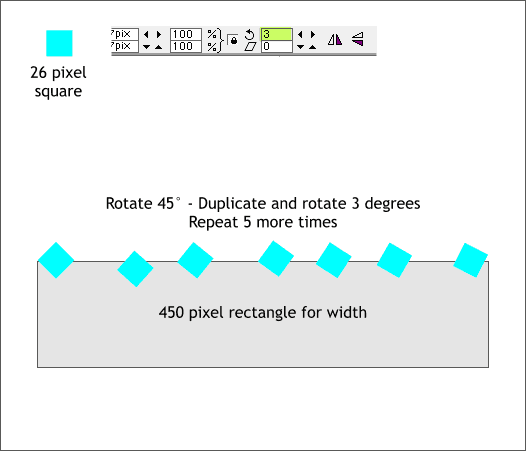
But first, draw a 26 pixel square and rotate it 45 degrees (in either direction).
Duplicate the square to the right, enter 3 in the Angle of Rotation text entry box on the Infobar and press Enter to apply the rotation. Repeat this step until you have 7 rotated squares.
Draw a rectangle 450 pixels wide. We will use this as a guide. Make sure the first and last square are aligned with the sides of the rectangle. Delete the rectangle.

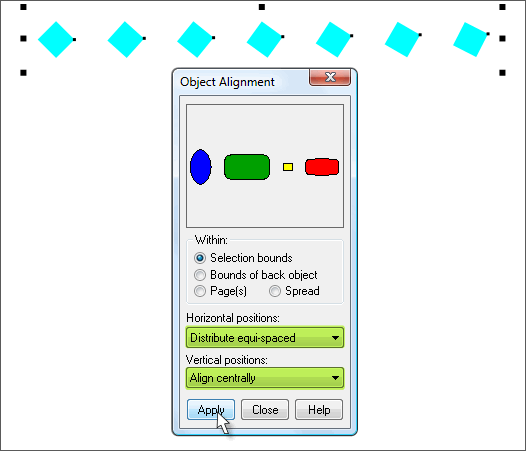
Select all the squares. Open the Object Alignment dialog (Arrange > Alignment or press Shift Ctrl L). Select Distribute Equi-spaced and Align
Centrally. Press Apply.
As you may have guessed, this aligns the squares in their vertical center and spaces them evenly. When you create floating objects spacing is very critical.
A little extra space here or there or uneven spacing creates some odd results.
|