to download it from the web. To apply the Pebbles 2 fill using the Fill Gallery, select the rectangle, then select the image in the Fill Gallery (on the
right side of the Infobar) and press the Fill button.
If you have downloaded the Pebbles 2 image, Import the image into Xara (File > Import). Select the rectangle, open the Bitmap
Gallery (on the Infobar), select the bitmap image and press Fill.
We need to make the stones smaller which will make it easier to see the 3D image. Images with lots of texture and/or grainy textures work
the best.
Select the rectangle, then select the Fill Tool (the paint can on the main Toolbar). The rectangle will now show two arrows, indicating the height and width of the actual bitmap fill. Hold down the
Ctrl key, and drag the width arrow inward until the width of the fill is about the same as the width of the rectangle.

 Select the slim rectangular panel we created earlier. If you have the Xara CD with the Fills use the Pebbles 2 fill from the Ground folder in the Fill Gallery. If you don't have access to
the image, you'll find it in the assets folder in the downloadable tutorial (pebbles_2.jpg), or
Select the slim rectangular panel we created earlier. If you have the Xara CD with the Fills use the Pebbles 2 fill from the Ground folder in the Fill Gallery. If you don't have access to
the image, you'll find it in the assets folder in the downloadable tutorial (pebbles_2.jpg), or 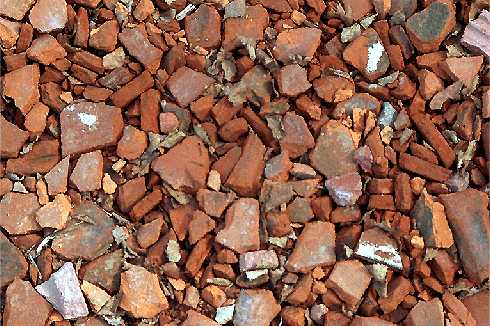