 |
 |
||||||||
| 0 1 2 3 4 5 6 7 8 9 10 11 Download Zipped Tutorial | |||||||||
|
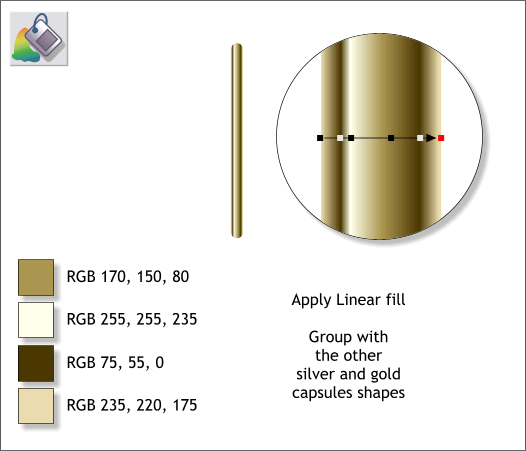
Zoom in very close to one of the rounded rectangles. Apply a Linear fill (as shown in the enlargement). Add four colors to the fill path in the positions shown and use the colors indicated to the left above. Copy the fill to the clipboard (Ctrl c). Select the next rounded rectangle and Edit > Paste Attributes or press Shift Ctrl a. Repeat for the other two rounded rectangles. Group the two circles, rectangle, 3 symbols and 4 rounded rectangles (Ctrl g).
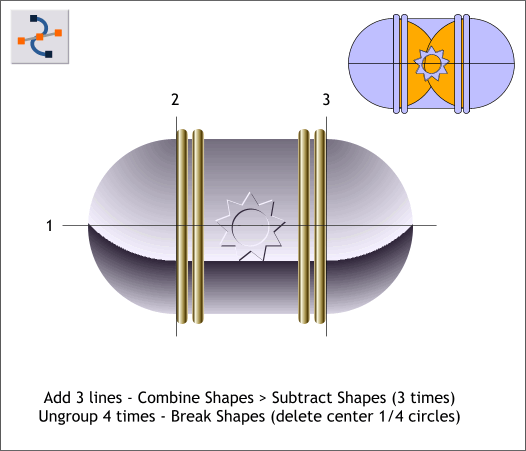
Using the Shape Editor Tool (F4), create two vertical and one horizontal lines. Align the vertical lines to the left and right of the gold rectangles. Align the horizontal line to the vertical center of the group ( Arrange > Alignment). TIP: To draw a vertical or horizontal line wit the Shape Editor Tool, click once on the page to place the starting control point, hold down the Ctrl key, to constrain the direction, and drag in the direction you want the line to go. Select the group and the horizontal line. From the Arrange menu, select Combine Shapes > Subtract Shapes. Select the left vertical line, then select the group and repeat Subtract Shapes (Ctrl 2 ). Repeat this eith the group and the other vertical line. Select the group and Arrange > Ungroup four times then Arrange > Break Shapes. Switch to Outline view (Window > Quality > Outline). Select the inside half of the quarter circles (shown in the diagram top right in orange) and delete them. Return to Antialiased view.
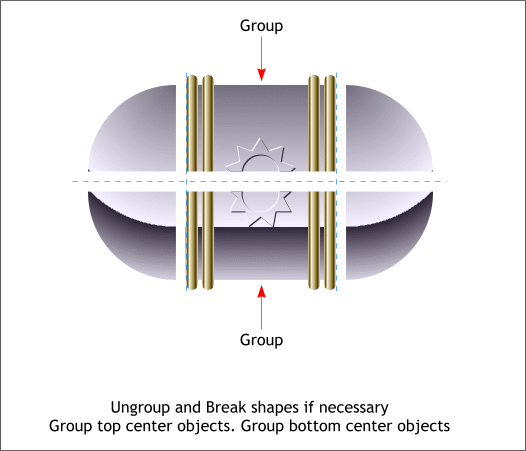
Select the top center objects and group them. Select the bottom center objects and group them. You should have 4 quarter circles and two groups as shown above.
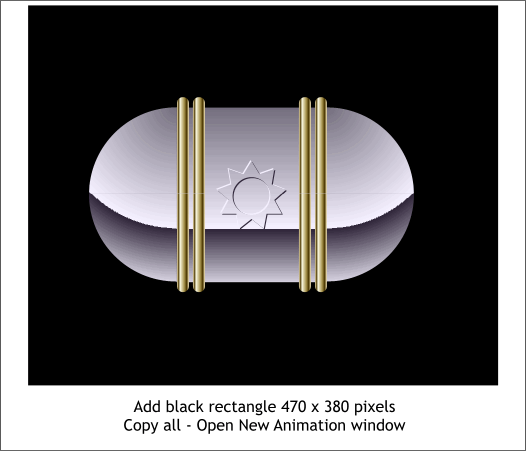
Create a 470 x 380 pixel rectangle. Apply a Black fill. Copy all the objects to the clipboard (Ctrl c). It's Showtime! But first take a short break.
|
|||||||||
|
©2007 Gary W. Priester
|
|||||||||


