 |
 |
||||
| 0 1 2 3 4 5 6 7 8 9 10 11 12 Download Zipped Tutorial | |||||
|
THE XARA XONE | XARA.COM | THE XARA CONFERENCES | BUY XARA XTREME PRO |
|||||
|
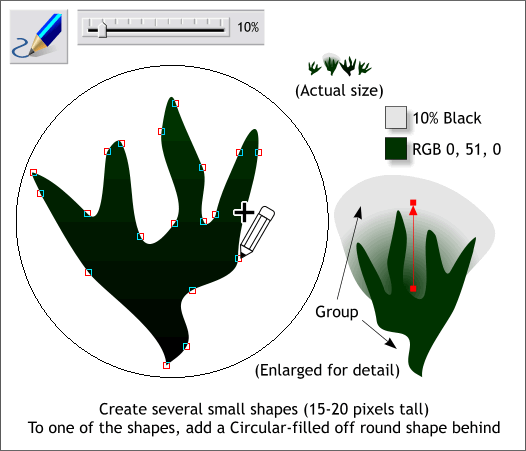
Using the Freehand and Brush Tool (F3), draw 4 or 5 very small shapes like the one shown in the enlargement on the left above. (The actual size of the shapes should be 10-20 pixels tall). For those of you who like to know what we are doing at all times, these will be clumps of pine needles on a tree. Trust me, OK? To complete the shape drag the last line segment so that it connects to the first line segment. When the end of the line meets the start of the line, a + appears to indicate the path is about to be closed and a fill can be applied. TIP: Change the Set Zoom Factor amount on the Infobar to about 500% to make drawing these small shapes easier. Zoom out to 100% when you are finished. Bonus Tip: You can drag a rectangle around the area you wish to magnify with the Zoom Tool (the magnifying glass button) to magnify a specific area. You can also click the Zoom Tool over the area you wish to magnify and each click will increase the magnification in the same percentage amounts as you find in the Set Zoom Factor drop down list on the Infobar. For one of the shapes, add an off-round shape and using the Fill Tool (F5), apply a Circular fill of dark green and 10% Black. Group (Ctrl g) these two objects. If you need help creating and editing your colors, see Applying and Editing Fills in Workbook 31.
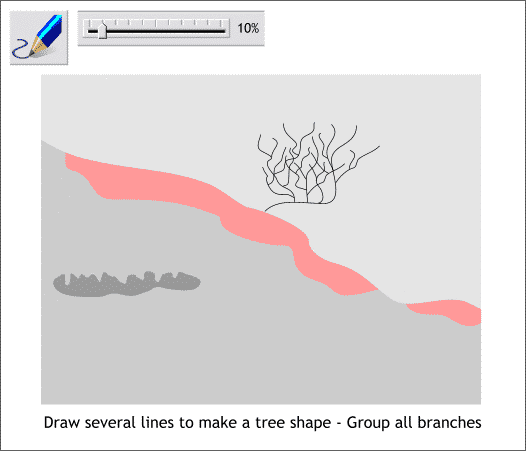
Again, using the Freehand and Brush Tool, draw a series of branch shapes to create a small Piņon tree (because New Mexico is a high desert, Piņon and Juniper trees never get much taller than 10-20 feet). Group (Ctrl g , or Arrange > Group) all the branches when you have finished.
|
|||||
|
|
|||||

