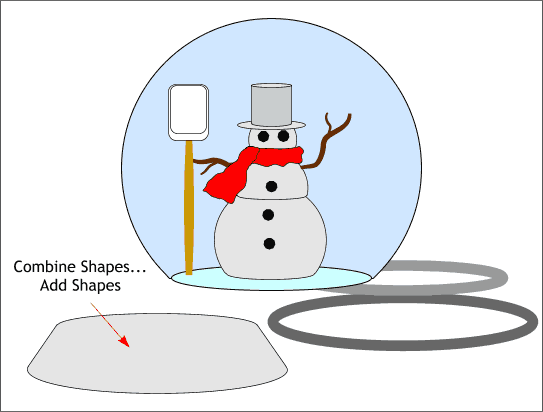

Select the new parallelogram shape and the two ellipses and Combine Shapes... Add Shapes.

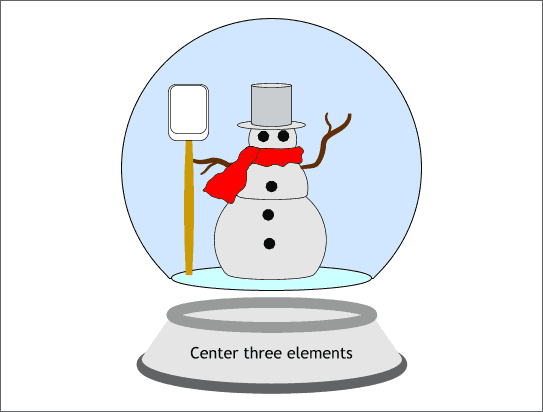
Center the three elements as shown. We now have all the elements for our glass sphere and snowperson. Next we will use a variety of fills to add dimension to the snow person and glass sphere.

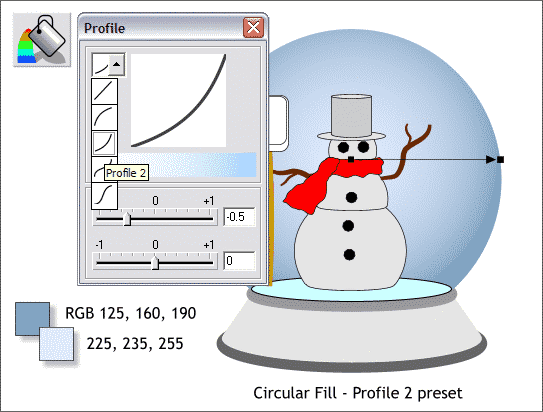
Select the large circle with the Fill Tool. From the Drop down list of Fill Types on the left side of the Infobar, select Circular. Click the Profile arrow icon on the Infobar to open the Profile dialog. From the drop down list of preset profiles, select Profile 2. The makes the Circular fill more dense on the outside.
How To Mix Colors: If you are a new user and do not know how to mix colors or how to apply them to a gradient fill such as a circular fill, here is what to do: Press Ctrl e to open the Color Editor (you can also click the small color wheel icon to the left of the on-screen color palette). Select RGB Color Model from the drop down list of Color Models. Enter the three numbers following the RGB into the appropriate text entry boxes. For example for RGB 125, 160, 190, enter 125 in the R box, 160 in the G box and 190 in the B box.
To apply colors to a gradient fill, click on the tiny box on either end of the fill path arrow to select it then mix the appropriate color.

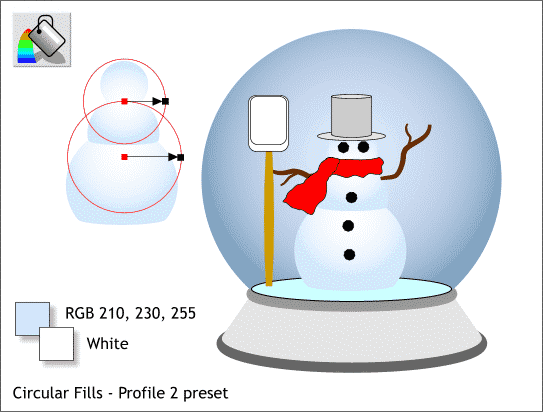
Apply a Circular fill to the head using the two colors shown above. Apply the same fill to the combined lower shapes and drag the center of the Circular fill path arrow upwards as shown on the left.
|
|
|
|
|
|
|
|