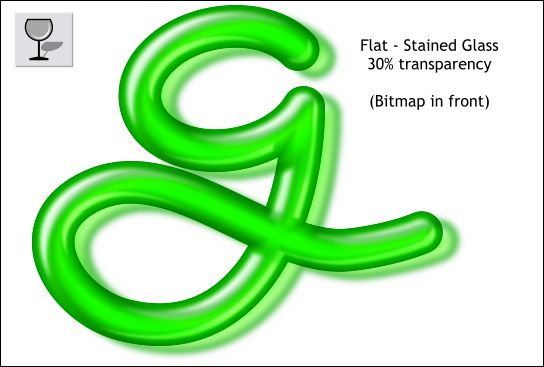

Select the bitmap then select the Transparency Tool. Apply a Stained Glass transparency and move the Transparency slider on the Infobar to 30%. Position the bitmap over the Gel g-shape and offset it down and right (or down and left if you preferit's a matter of left-handed vs. right-handed design).
The reason you want the blurred bitmap on top is so that some of the blurred image appears inside the Gel g-shape giving the impression that we are seeing the shadow shape through the Gel.
Stained Glass transparency treats white as invisible.

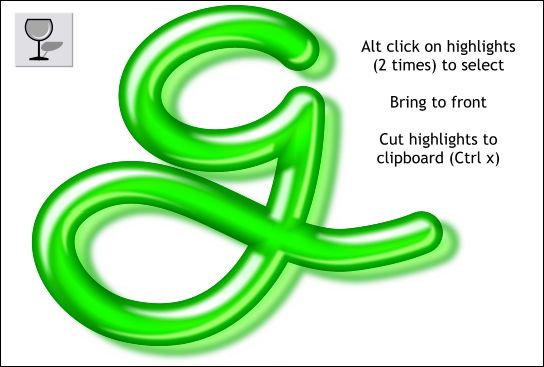
The highlights are beneath the bitmap. Hold down the Alt key and click directly over the highlight shape twice. Look at the Status Line at the bottom of the window. The first click should display "Bitmap" the second click "1 Group". Bring the highlight group to the top (Ctrl f). Repeat this for the bottom highlight.
I think this is a very credible looking Gel effect. We could quit here and I'd be happy. But I have a few more pages to fill. On the next page, we'll apply a texture to the Gel. Save your work and take a break.
|
|
|
|
|
|
|
|