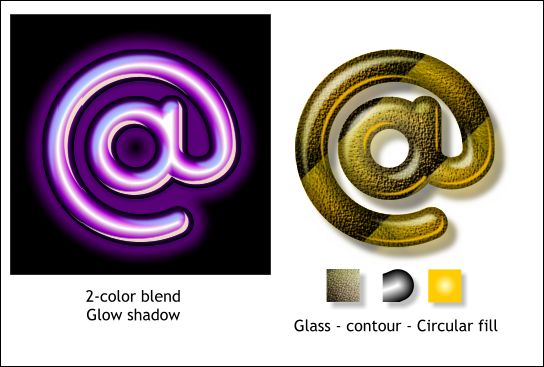

Instead of the blurred bitmap, for the glowing neon effect, I used a Glow Shadow effect dragging the glow outward with the Shadow Tool and softening the blur. I dropped a deep, bright purple color on the shadow and reducing the Shadow Transparency slider to 50% to make the glow brighter. A black square behind makes the neon appear to glow more.
I used the same Glass fill for the example on the right except I reduced the size of the fill image making it tile and creating the stripe effect. The image is sandwiched as follows: the glass filled shape is on the bottom. The bitmap is on top of that and a duplicate shape with a deep yellow to pale yellow Circular filled shape is on top of the other two with a Flat, Bleach, 20% transparency. This is fun. And addicting.

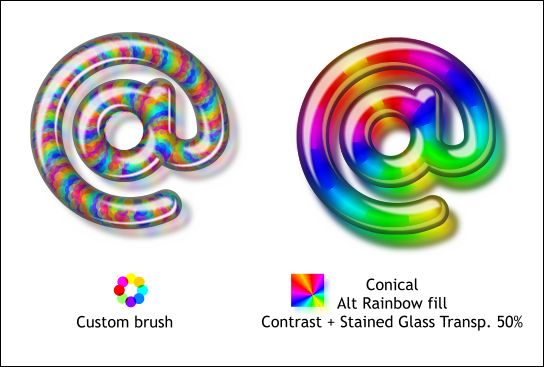
I was really pleased with these last two variations. For the one on the left I created a custom brush and edited the spacing and rotation to create the spiral effect. There is some Stained Glass transparency applied to the little grouped, colored circles before the brush stroke was created.
The final example (I could go on and on with this, but as you can see, I have finally filled up all my pages) uses a Conical filled shape with the Alt Rainbow option. I applied a Contrast 50% transparency to the black and white bitmap which made the colored shapes splotchier. This bitmap was duplicated and the transparency changed to Stained Glass 75%.
And that concludes this month's tutorial.
Your feedback is always welcome. Please use the form on the following page to send me your kudos, comments, criticism, and/or questions. Thank you for your attention. You are now dismissed.
Gary W. Priester
Host person
|
|
|
|
|
|
|
|