
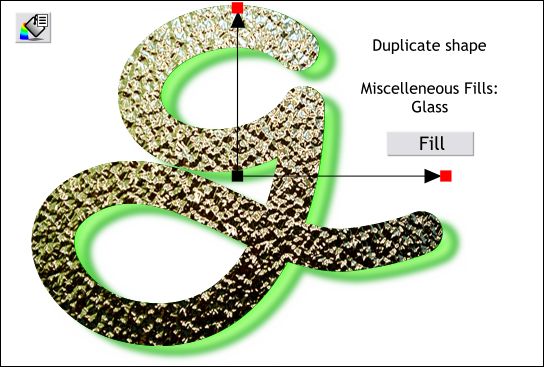
You need to find one of those duplicate shapes I asked you to create early in the tutorial. If it is still an outline, (select it and look at the Status line) Convert Line to Shape (Arrange menu).
Open the Fill Gallery and from the Miscellaneous Fills folder, select Glass. Press Fill to apply the fill to the duplicate shape. Extend the fill path arrows so that the fill fills the entire shape and does not tile.
NOTE: If you go to the Fill Gallery and the Gallery is bare, here is what you need to do. Make sure your Xara X CD is in the CD drive. In the Fill Gallery, click Disc Fills... Xara will make an attempt to locate your CD drive. If it cannot, Browse to the Fills folder on the CD. Double click the Fills folder icon then press Add . Xara may inform you that no previews exist for these fills and do you want Xara to create them for you. Say, "Yes. That is very thoughtful of you!" and Xara will add folders with all the fill icons in your Fills folder. To apply a fill, the CD has to be in your CD drive. (Or you have to copy all the fills to your hard drive and specify this folder when adding your disc fills). Xara only copies low resolution thumbnail images of the fills to your hard drive. All the actual fills are on the CD.
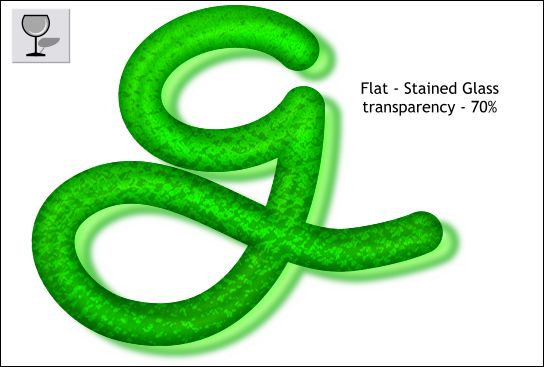
Apply a Flat, Stained Glass transparency with a slider setting of 70%.
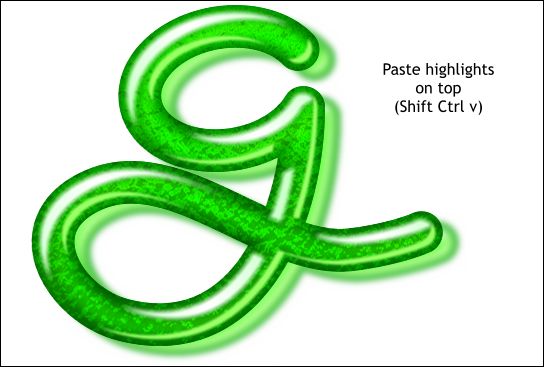
And finally, bring the highlights to the front.
For all intents and purposes the tutorial is done. On the next two pages I will show some variations that you may want to attempt. The details are a lot more sketchy, however.
|
|
|
|
|
|
|
|
|
|
|
|