 |
 |
||||
| 0 1 2 3 4 5 6 7 8 9 10 11 12 Download Zipped Tutorial | |||||
|
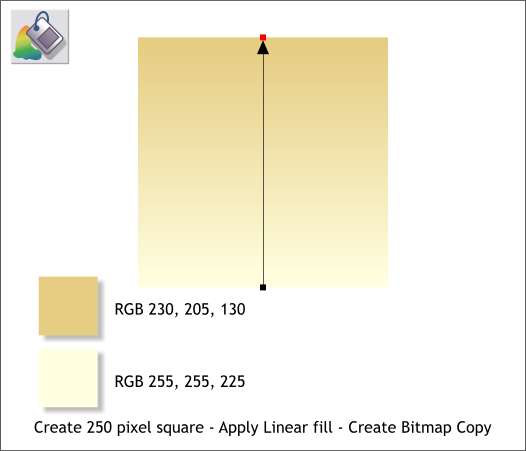
Return to Xara X1 for a moment. Create a 250 pixel square and apply a Linear fill using the two colors and vertical position of the fill path arrow shown. If you do not know how to apply a Linear fill or how to modify the colors see Page 4 in Workbook 20. Select the square then Arrange > Create Bitmap Copy. Use the True Color option and press Create to create the bitmap. Save the bitmap where you can easily find it.
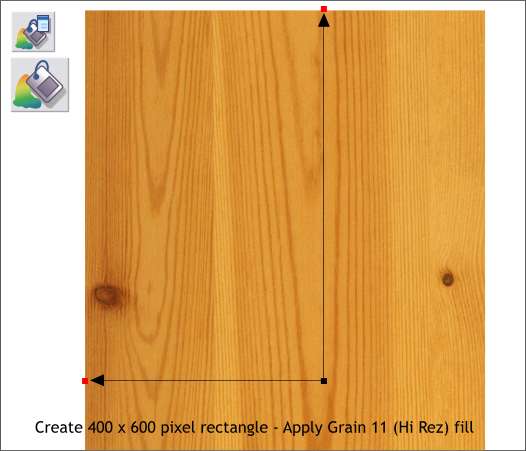
Draw a 400 x 600 pixel rectangle. Open the Fill Gallery and from the Wooden Fills folder, select Grain 11. Press the Fill button to apply the fill to the rectangle. Select the Fill Tool and modify the fill path arrows as shown. Create a Bitmap Copy of the rectangle, again using the True Color option (with NO Alpha) and save the bitmap in the same place you saved the gold linear fill bitmap.
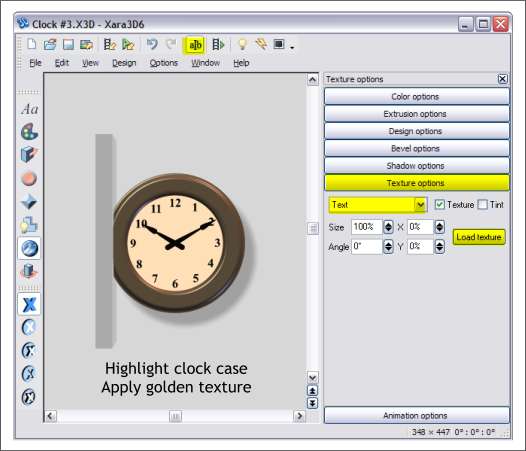
Instead of the gold color that we applied to the clock case, we will use the gold-colored linear filled bitmap we created instead. Return to Xara 3D-6. Click the Show/Hide Cursor icon. Press the up arrow key 3 times. Hold down the Shift key and press the left arrow key to highlight the clock case. Press the Texture Options button. Select Text from the drop down list. Press Load Texture and locate the gold-colored Linear filled bitmap.
|
|||||
|
|
|||||


