 |
 |
||||
| 0 1 2 3 4 5 6 7 8 9 10 11 12 Download Zipped Tutorial | |||||
|
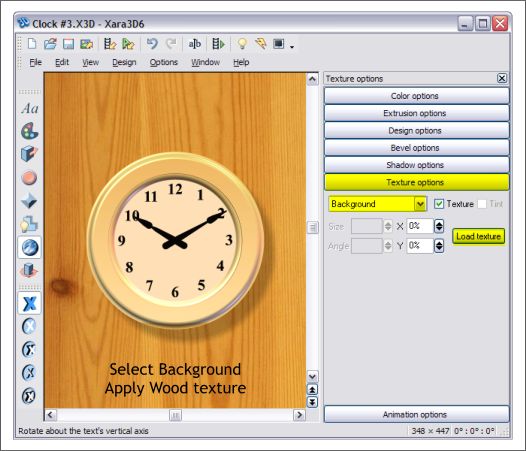
Select Background from the Texture Selector drop down list. Press Load Texture and locate the wood grain bitmap. That is the basic technique. A few tweaks will improve the image.
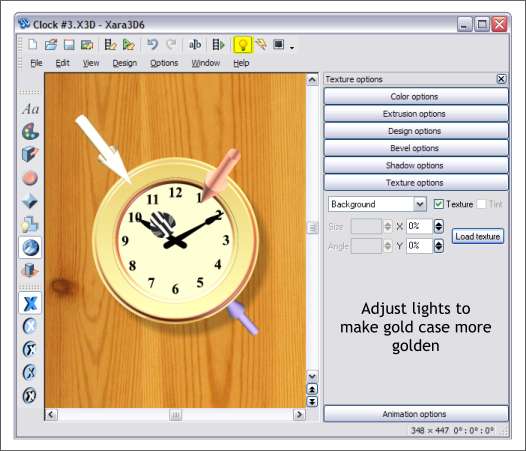
Click the Show/Hide Lights icon. Move the white light a little away from the center of the clock face. Bring the pink light arrow almost over the 1. And move the purple light arrow further to the back.
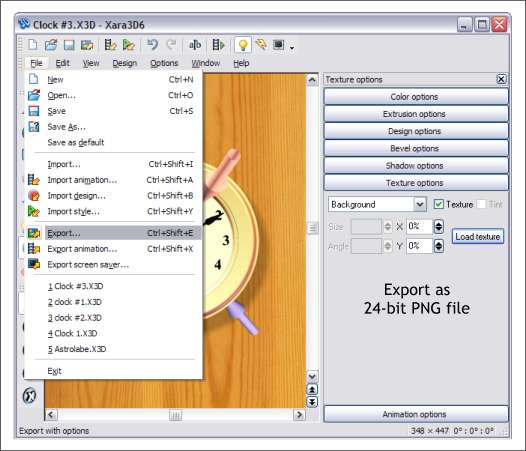
We have done about all we can do in Xara 3D-6. From the File menu, select Export. Use the PNG file format with a Color Depth of 24-bit.
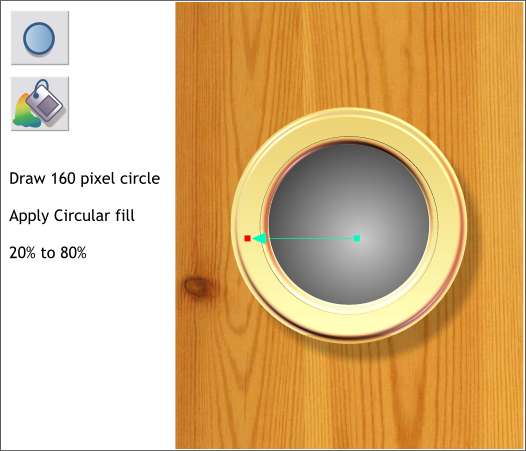
Import the bitmap image into Xara X1. Draw a 160 pixel circle and center it over the clock face. Apply a Circular Fill using 80% Black for the outside color and 20% Black for the center color. Drag the center of the Circular fill down and to the right as shown.
|
|||||
|
|
|||||


