 |
 |
||||
| 0 1 2 3 4 5 6 7 8 9 10 11 12 Download Zipped Tutorial | |||||
|
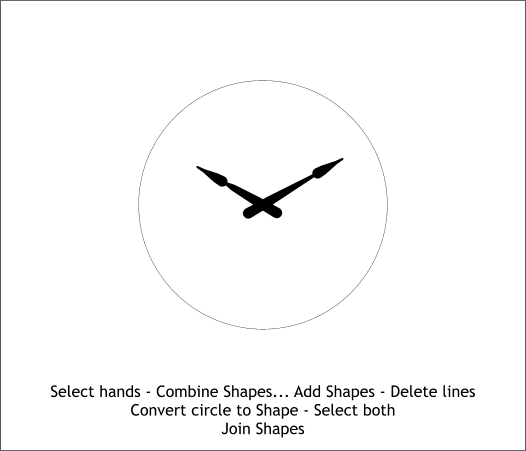
Select both hands and Combine Shapes... Add Shapes (Arrange menu). Select another duplicate of the largest circle and Convert Line to Shape (Arrange menu). Then select the hands and the converted circle and Arrange > Join Shapes. Before we go on, a word of explanation of what we have done so far. One of the new features of Xara 3D-6 is the ability to create a solid shape in Xara X , copy the shape to the clipboard, and then paste it into Xara 3D. The reason for the circles which we converted to shapes and in which we centered the hands, face, and numbers will assure that all of these shapes are the same size when we copy and paste them into Xara 3D-6.
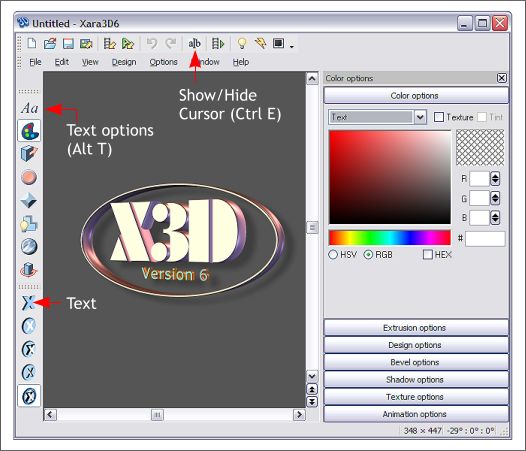
Open Xara 3D-6. If you don't have Xara 3D-6, you can download a free trial copy here. Click on the Text X icon. (You can only copy and paste when you are in the Text mode). The other two icons that will be using frequently in this tutorial are Text Options (Alt t ) and Show/Hide Cursor (Ctrl e).
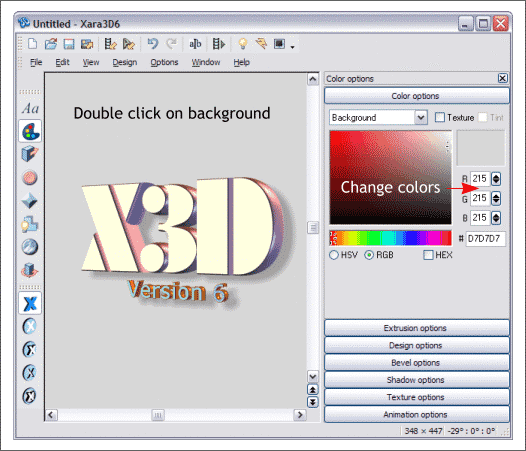
To make it easier to see what we are doing we need to make the page background lighter. Double click on the background to open the Color Options dialog. Change the RGB colors to 215 in each of the RGB text entry windows.
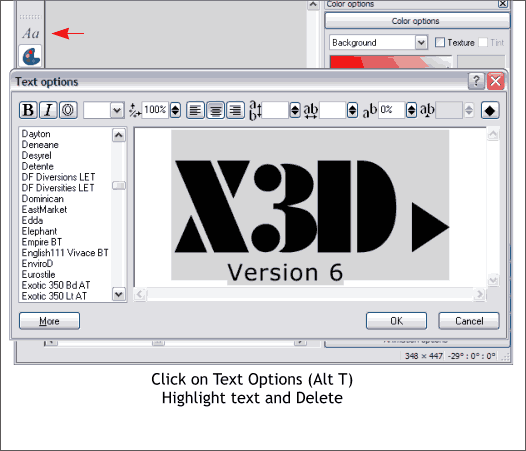
Press Text Options (Alt t). Press Ctrl a (to select all) and delete the X3D Version 6 text. Press OK to exit the dialog.
|
|||||
|
|
|||||


