 |
 |
||||
| 0 1 2 3 4 5 6 7 8 9 10 11 12 Download Zipped Tutorial | |||||
|
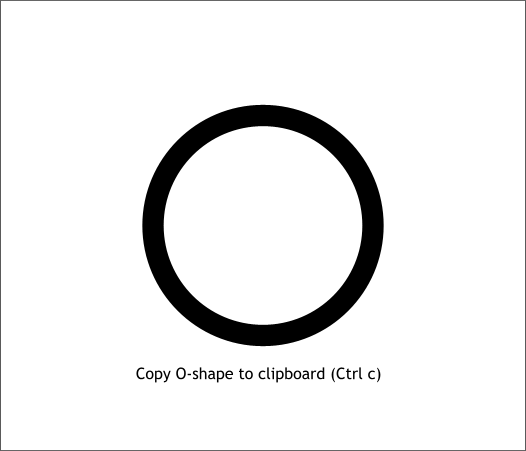
Select the O-shape and copy it to the clipboard (Ctrl c or Edit > Copy).
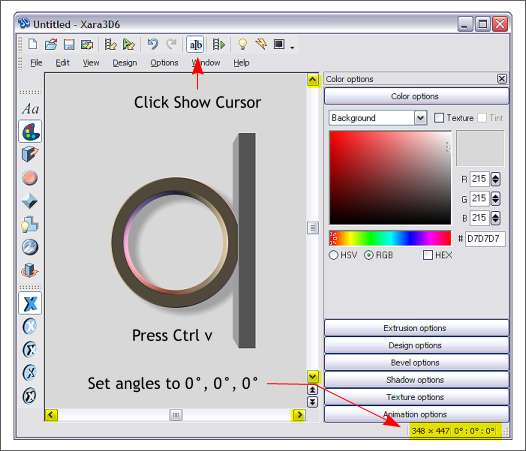
In the Xara 3D-6 window, click the scroll arrows until the status bar at the bottom of the window shows 0°, 0°, 0°. Press the Show/Hide Cursor icon. A large rectangle will appear. This is the text cursor. Press Ctrl v to paste the shape you copied from Xara X. (Or Edit > Paste). TIP: We will be going back and forth between Xara X and Xara 3D for the next steps. To go back and forth between the two applications press Alt Tab.
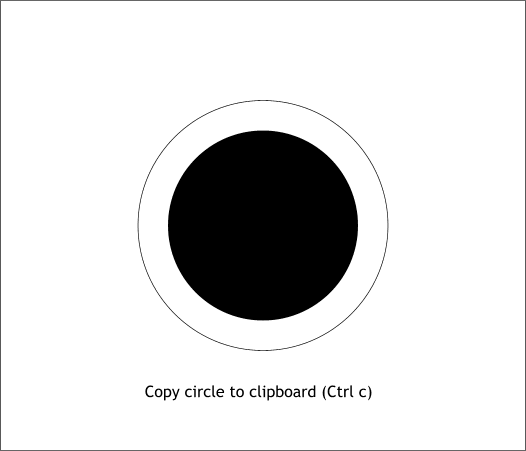
Copy the smaller circle to the clipboard (Ctrl c). This will be the clock face.
|
|||||
|
|
|||||


