
|
||
|
|
||||||||||||||||||||||||||
|
|
|
This brings out the color and texture of the bricks. TIP: To see how Contrast transparency works, try different colors and see what effect they have on the underlying object. Save your work and take a short eye break. Eye breaks are real important for maintaining your eye's ability to focus. |
|
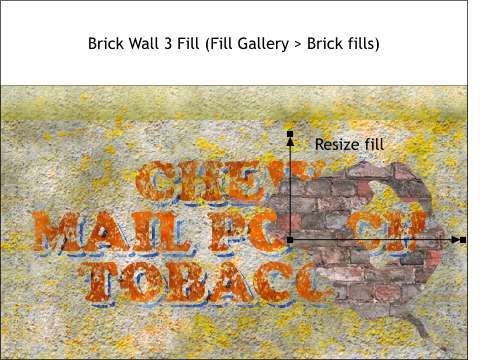 Bricks. Old bricks. That's what is behind the stucco.
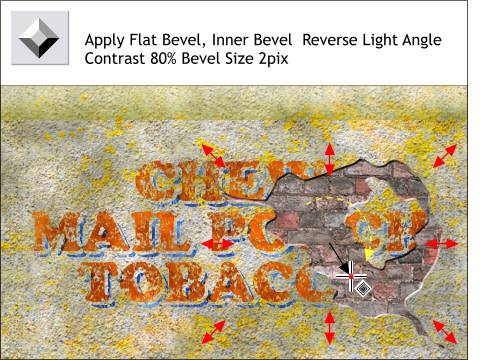 Select the Brick-filled shape with the Bevel Tool. Apply a Flat, Inner Bevel.
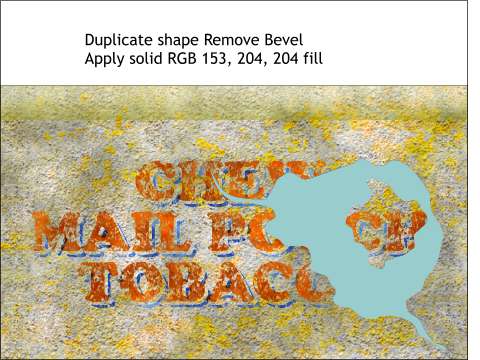 Clone the bricks. Select None for the Bevel type. Change the fill to the color shown.
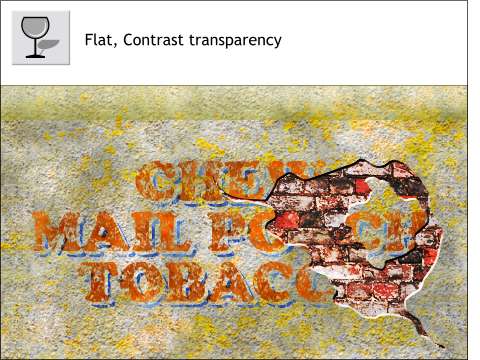 Select the shape with the Transparency Tool and apply a Flat, Contrast transparency.