|

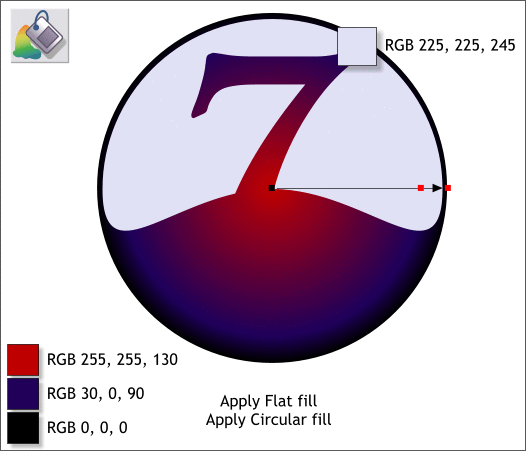
Select the top shape (with the 7 removed) and apply a Flat fill using the color shown.
Select the circle then select the Fill Tool (F5). From the drop down list of Fill Types on the left hand side of the Infobar, select Circular.
Double click on the fill path arrow to add the third color towards the right side as shown above. Click on the center square (the control handle), and mix the red color in the
Color Editor (Ctrl e). Click on the other two control handles and change the colors as shown. RGB 0, 0, 0 is black, in case you hadn't noticed.

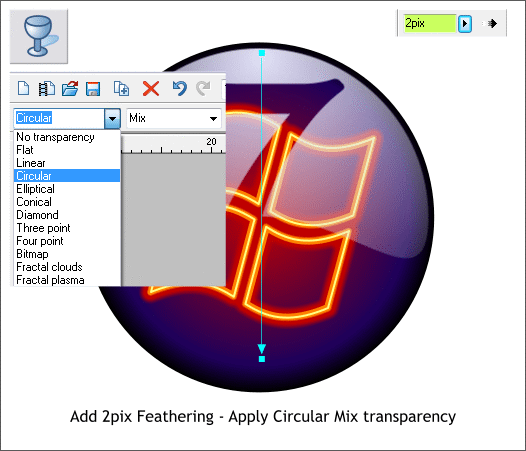
Select the Transparency Tool (F6). Click on the pale purple shape to select it, then click and drag from the top straight down. Hold down the Ctrl key
while you drag to constrain the angle of the fill path arrow. Drag the bottom of the fill path arrow almost to the bottom of the circle as shown.
From the Transparency Shape drop down list on the left hand side of the Infobar, select Circular.
Apply 2 pixels feathering to the shape.
|