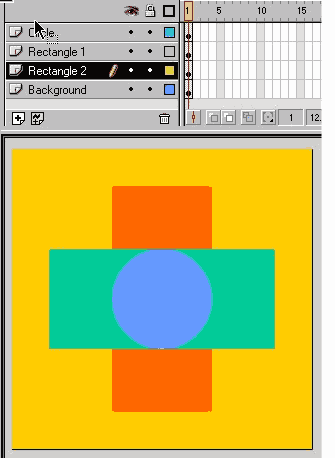
Select the blue circle. Cut it to the clipboard (
Ctrl X or Edit > Cut).Click inside frame 1 next to the Circle layer and from the Edit menu select Paste in Place (this pastes the object in the exact
position from which it was cut).
Repeat this step to place the two rectangles on their own layers.
As you might have already guessed, the eye and lock icons (above the layers) make a layer
or layers invisible or locked.
Select a layer or multiple layers and press the dot under the eye icon to see how this works.
You can also right right click on a layer and select Hide All which
hides all but the selected layer.

 Select the blue circle. Cut it to the clipboard (
Ctrl X or Edit > Cut).
Select the blue circle. Cut it to the clipboard (
Ctrl X or Edit > Cut).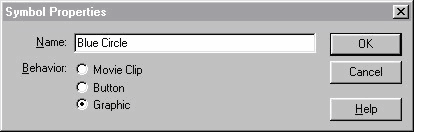 In Flash, symbols help keep file sizes small.
Once an object has been made into a symbol, all further instances of the symbol use the basic information.
In Flash, symbols help keep file sizes small.
Once an object has been made into a symbol, all further instances of the symbol use the basic information. 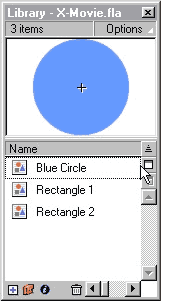 The symbols reside in the Library
(Window > Library) Once in the Library symbols can be dragged onto the stage to create new instances.
The symbols reside in the Library
(Window > Library) Once in the Library symbols can be dragged onto the stage to create new instances.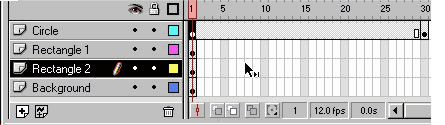 Right click in frame 30 on the Circle layer.
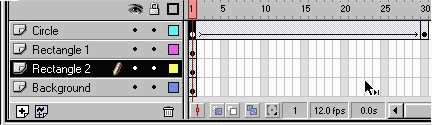 In order to create a transition between the
two instances of our circle, we need to create a tween. Tween, by the way, is an old animation term for creating a series of frames in-between the two key frames.
In order to create a transition between the
two instances of our circle, we need to create a tween. Tween, by the way, is an old animation term for creating a series of frames in-between the two key frames.