
We want to create a freehand version of the rounded rectangle. It will make the wooden version look more realistic. Select the Freehand and Brush Tool and draw a ragged version of the rounded rectangle. Be sure the line ends on top of the beginning point. (The cursor will change to a + when you are over the starting control point and if you are successful, the shape will fill black). Change the fill color to pale yellow for now. You can delete the rounded rectangle.
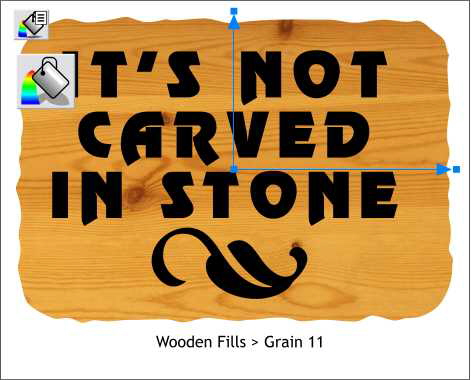
With the new raggedy shape selected, open the Fill Gallery on the Infobar. Scroll down to and open the Wooden Fills folder. Select Grain 11 and press Fill. Select the fill with the Fill Tool and adjust the size of the tile by dragging the outside control handles as shown.
Adding Fills to the Fill Gallery: If you have no fills in your Fill Gallery, or you have some, but not the one shown here, make sure your Xara X CD is in your CD drive, open the Fill Gallery and press Disc Fills... Xara will try to locate your CD and open to the Fills folder. Double click on the Fills folder then press Add. Xara may ask you if it is all right to create an index for you. Say yes. Xara will create thumbnail images for all the fills and place them in the Fill Gallery. (The actual fill images reside on the CD and to apply a fill, the CD needs to be installed in your CD drive).
Name and save your drawing and take a short eye break.
|
|
|
|
|
|
|
|
|
|
|
|