|

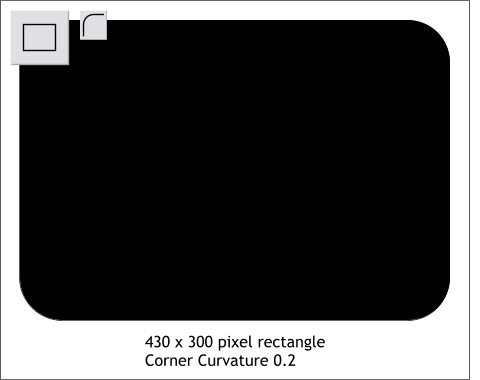
Create a rectangle 430 pixels wide by 300 pixels tall. You can refer to the Height and Width box on the Infobar at the top of the screen to make sure the rectangle is drawn to the correct size. With the
rectangle, and the Rectangle Tool still selected, click the Curved Corners icon (the arc) on the Infobar.

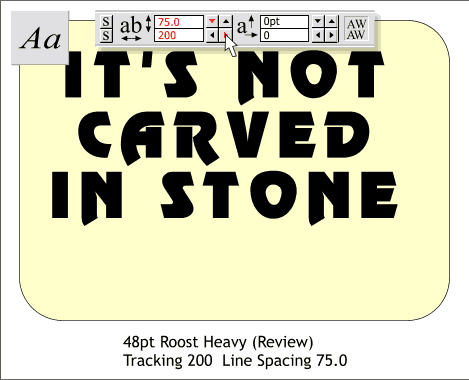
Select the Text Tool, click on the page and key in IT'S NOT CARVED IN STONE. I have used a font called Review. The same font is on the Xara X CD in the Fonts folder and is called Roost
. Highlight the text (drag the Text Tool cursor over all the letters) and change the size to 48 points. With the text still highlighted, click the Center Justify
icon on the Infobar (the five centered lines icon) to center the text. Click the down facing Line Spacing arrow until it reads 75.0. Click the right facing Tracking adjustment arrow until it reads
200.
Installing Fonts: To install a font from the CD, open the Fonts Gallery (the Aa icon on the Infobar). Press Disc Fonts... (The Xara X
CD must be in your CD drive). Find the Fonts folder on the Xara CD then find the folder Xara Info. Select this folder and press Add. Xara will create a directory of all fonts on the CD in the
Fonts Gallery.
Xara does not install the actual fonts on your hard drive, only a preview of each font. That is what the Xara Info folder is for.
Once you have added the font folders to the Font Gallery, locate the Decorative Fonts folder, then locate Roost. Select Roost and press Install
. Xara will ask if this is OK. Press Install to answer yes.
|

