
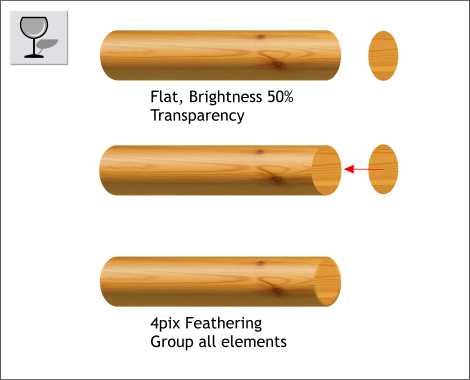
Select the Transparency Tool then select the Linear filled shape and apply a Flat transparency. From the Transparency Type drop down list, select Brightness and move the slider to 50%.
Position the duplicate ellipse over the right end of the cylindrical shape. Apply 4pix feathering. This softens the edge of the ellipse and creates a soft rounded-like end to the cylinder.
Save your work and take a short eye break.
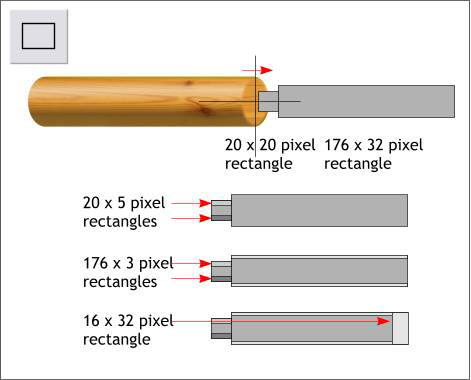
Now that we have a handle for the chisel, we need to create the chisel portion.
Construct some rectangles to the sizes and positions shown above. Start with the two basic rectangles and then add the smaller rectangles.

Zoom in close to the right edge of the chisel. Select the end rectangle and Arrange > Convert to Editable Shapes.
With the converted rectangle selected, select the Shape Editor Tool and drag the end control points until they taper a bit and meet the top long rectangle as shown. (If you enable Snap to Objectspress the red magnet icon on the Infobar) the ends will automatically snap to the ends of the larger rectangle).
Open the Line Gallery on the Infobar (the Arrow with the dotted line shaft icon) and select Miter Join from the Join Types drop down list to blunt the shape edges.
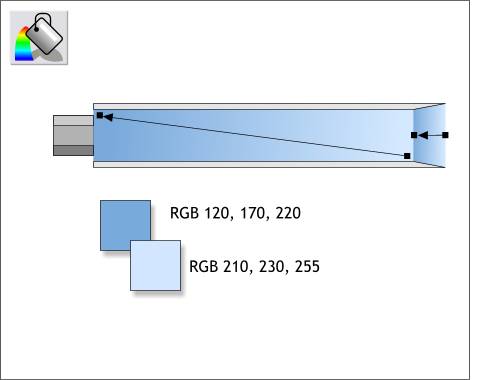
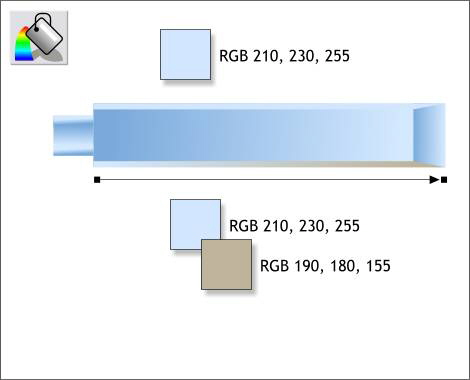
Apply two, two color Linear Fills using the two colors, and the fill path directions shown above.
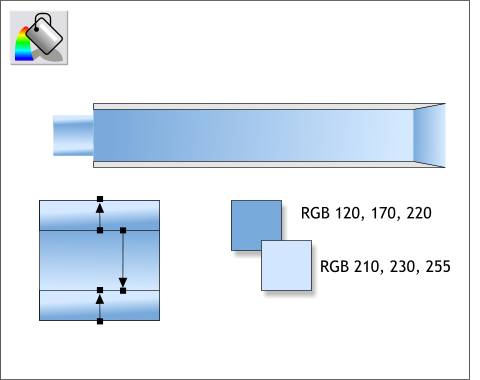
Fill the shaft portion on the left using the three fills shown.
Apply a Flat fill to the top edge and a Linear fill to the bottom edge as shown.
Group the blade elements and take a short eye break.
|
|
|
|
|
|
|
|
|
|
|
|