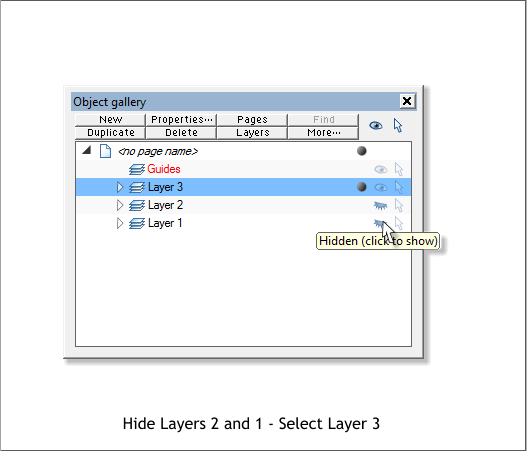
Click the Hide/Show layer icons to hide Layers 1 and 2.
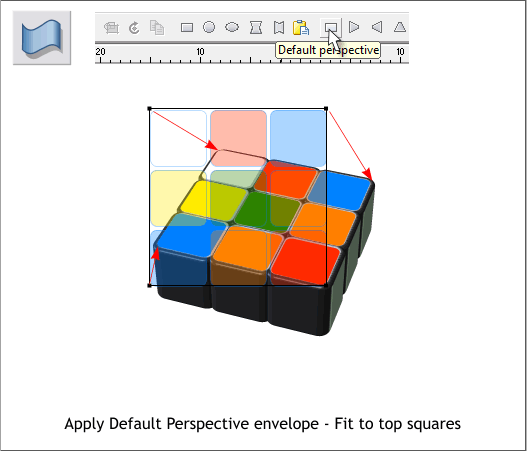
Select the nine colors squares (hold down the Shift key and click on
each of the nine squares to select the squares individually).
Switch to the Mould Tool (Shift F6).Click the Default Perspective icon
to apply a Default Perspective envelope. Drag the small black control
handles on the corners of the envelope as shown above to the four
corners of the gray squares on top of the section. Try to align the sides
of the envelope to the sides of the gray squares. The colored square will
probably not match the gray squares exactly, but work with the
envelope to see how close you can get.
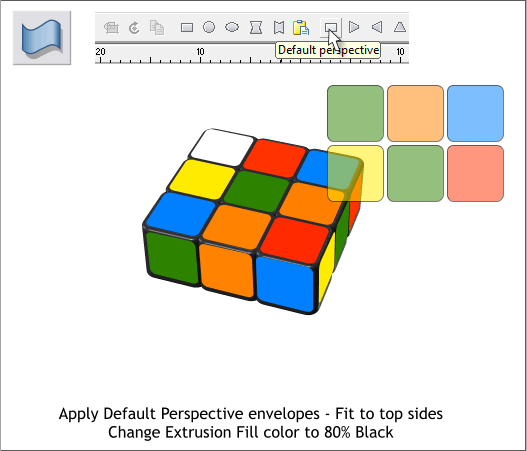
Select three of the colored squares that you made for the sides and use
a Default Perspective envelope to fit the squares to one of the sides.
Repeat this for the other side. Take your time and try to get the square
sides to match the squares on top. It helps to zoom in about 200%.
Carefully select just the extrusion and change the fill color to 80%
Black. This gets rid of the light gray squares on the top surface.