We will create two new layers, and put each of the top two sections on
a separate layer. This will make the next steps much easier. So, open
the Object Gallery (F10 - Formerly the Layer Gallery). Select Layer 1
and press New to create Layer 2. Press New again to create Layer 3.
With Layer 3 selected (the small sphere indicates the selected layer),
select the top section and Cut it to the clipboard (Ctrl x). Press Shift
Ctrl v or Edit > Paste in Place to move the top section to this layer.
Click the eye icon on Layer 3 to make it invisible and to make sure the
top section is on this layer. The top section should not be visible.
Select Layer 2. Cut and paste the second section onto Layer 2. Again,
use the make visible icon to verify the section was pasted correctly.
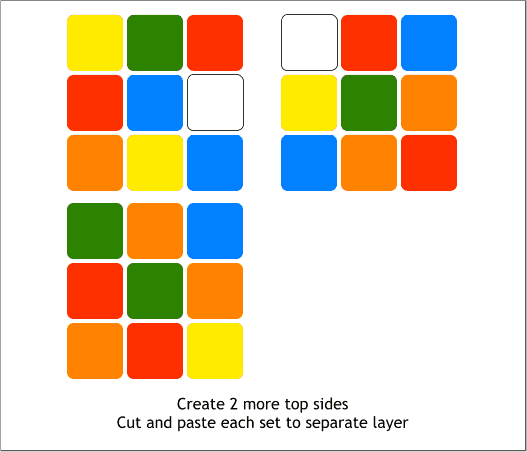
Make two duplicates (Ctrl d or Edit > Duplicate) of the nine colored
squares. Make each arrangement of the colors different.
Cut and paste one set of colors to Layer 3 and cut and paste one set of
colors to Layer 2. Leave one set of colored squares on Layer 1.
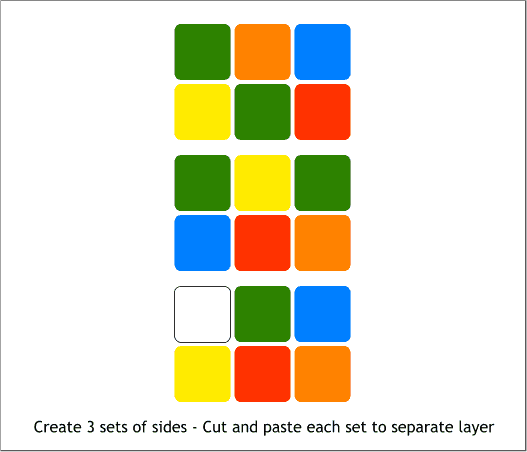
Make three sets of sides and give each a different sequence of colors.
Cut a paste one set onto Layer 3 and cut and past another set onto
Layer 2.
Each layer should now have one cube section plus a set of nine squares
and two sets of three squares. Use the make visible icon to test this.